How to install Rocky Linux.
###Object: Install Rocky Linux
Narrative: “Rocky Linux is a community enterprise operating system designed to be 100% bug-for-bug compatible with America’s top enterprise Linux distribution now that its downstream partner has shifted direction. It is under intensive development by the community. Rocky Linux is led by Gregory Kurtzer, founder of the CentOS project. Contributors are asked to reach out using the communication options offered on this site.”
With RedHat ending CentOS in favor of limited free versions of the Red Hat Operating System, the CentOS community is looking for a stable binary compatable open source replacement. Enter Rocky Linux a downstream build of RHOS just as CentOS was. Rocky linux was founded by Gregory Kurtzer who was also a founder of CentOS.
Why should you use Rocky Linux? Anyone who needs a RHOS system, but will not be purchasing an expensive support contract. Rocky Linux is a good starter OS for a home lab, a company building infrastructure, cloud hosting etc… As a long time BSD user I have avoided CentOS but Rocky is definetely growing on me. The stabiliyt and long lifespan of Rocky Linux distributions can be easier for deploying software than other linux operating systems.
How To: We are going to start with a Virtual machine on a proxmox server but you can use any computer including a Raspberry Pi. For my install I have a VM with access to 4 processors, 2 gigs of ram, and 64 gigs of hard drive space. This machine is fine for running a web server, docker or just about anything else.
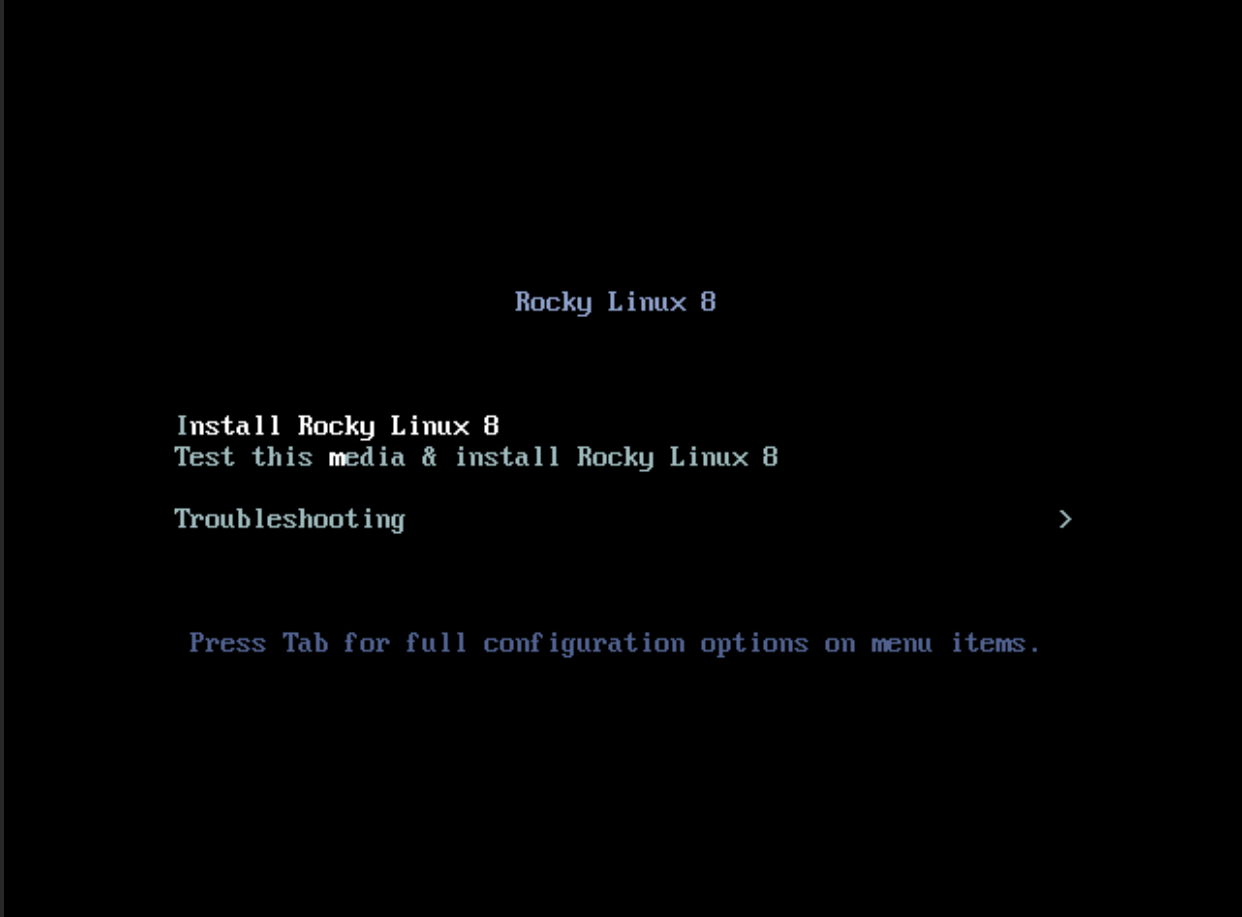
Select Install Rocky Linux 8
Select your preferred language

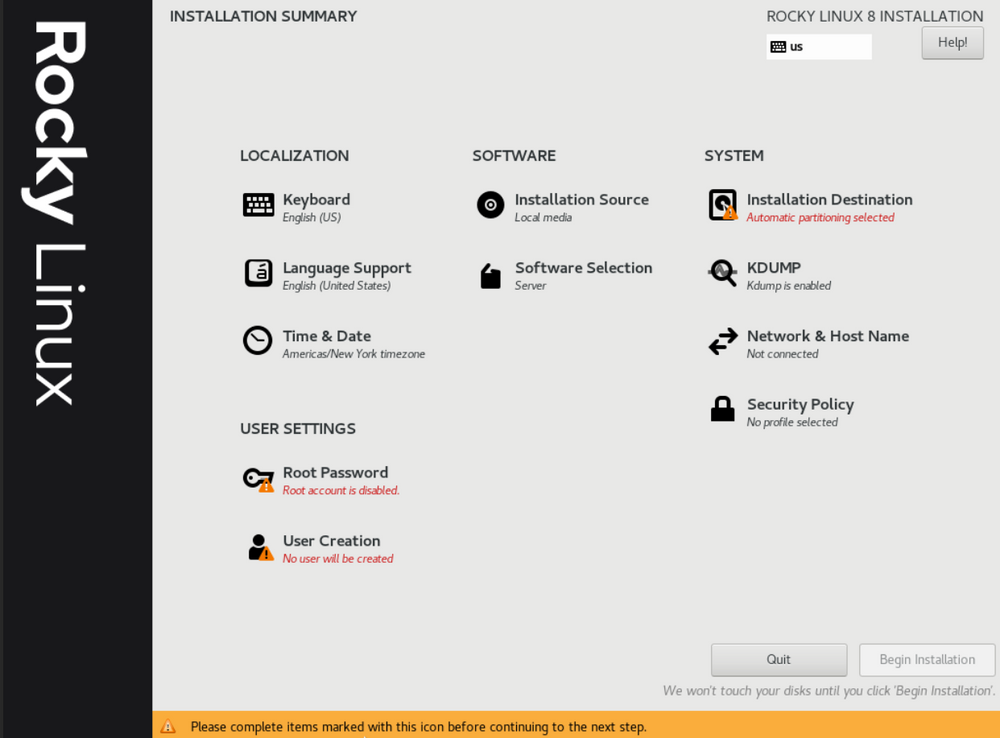
There are several sections that should be configured prior to OS install vs after. We are going to create a user, Choose the Installation Destination, Set the Network & Host Name and Set the Date & Time.
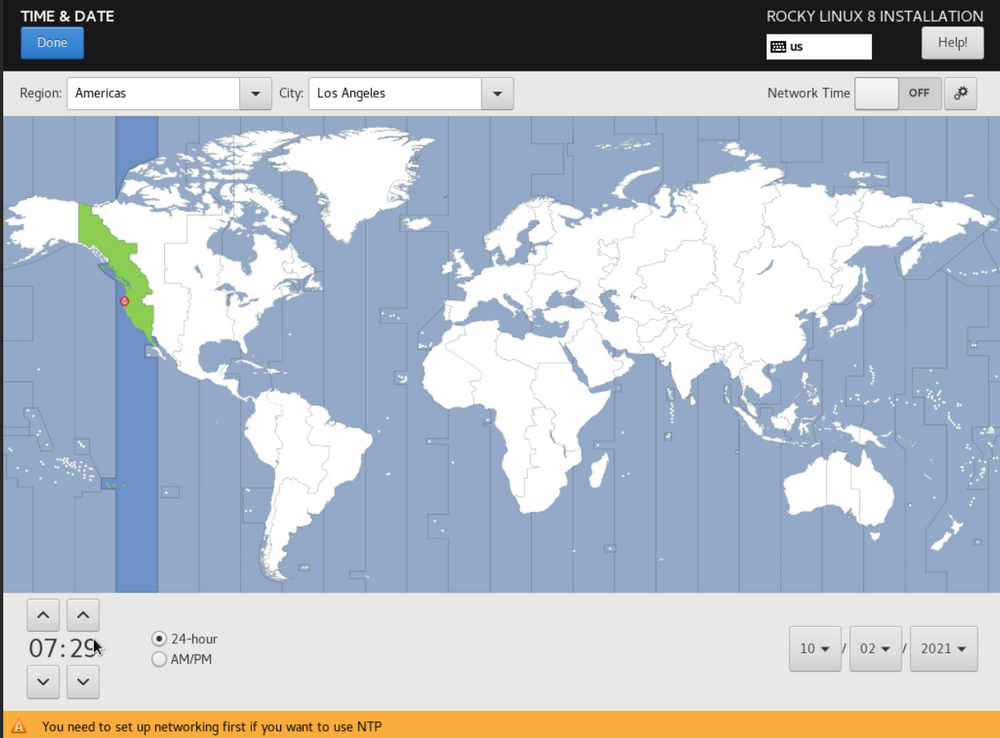
Select Time & Date, Choose your time zone and verify the time and date are correct.
Select Installation Destination verify your hard drive is present and the correct size. For this tutorial we have one 64GB drive and will be using automatic Storage Configuration, I will not be using Encryption since as a server we need this to boot without entering a password. If you are setting up a laptop or desktop you may want to encrypt your disk at this point.

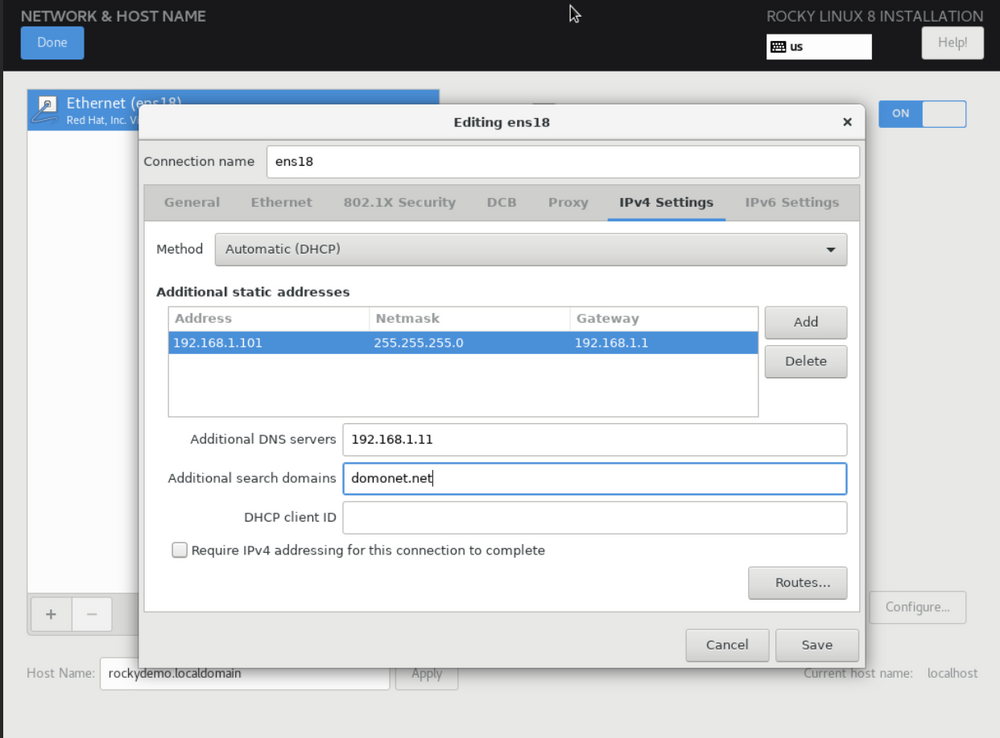
Select Network & Host Name. Toggle your network to “On” this will activate your network card and set the system to DHCP. I will be setting a fixed IP address, and setting the Host Name.
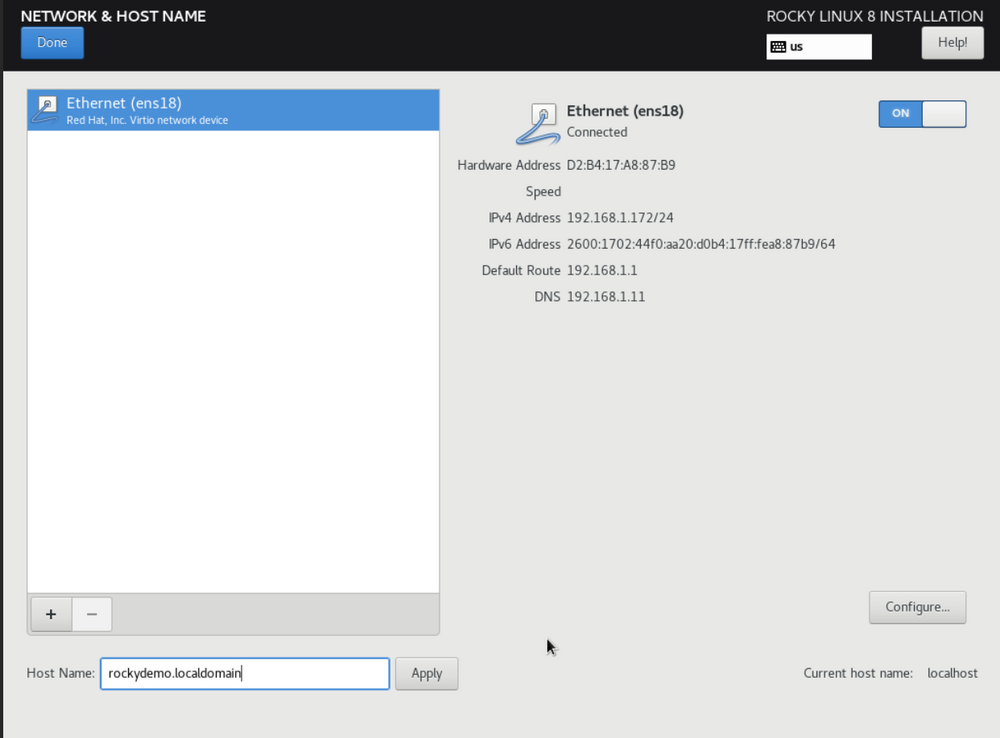
Select Configure, Select the IPv4 Settings Tab and select “Add” to enter your IP settings. Also enter your DNS servers here.
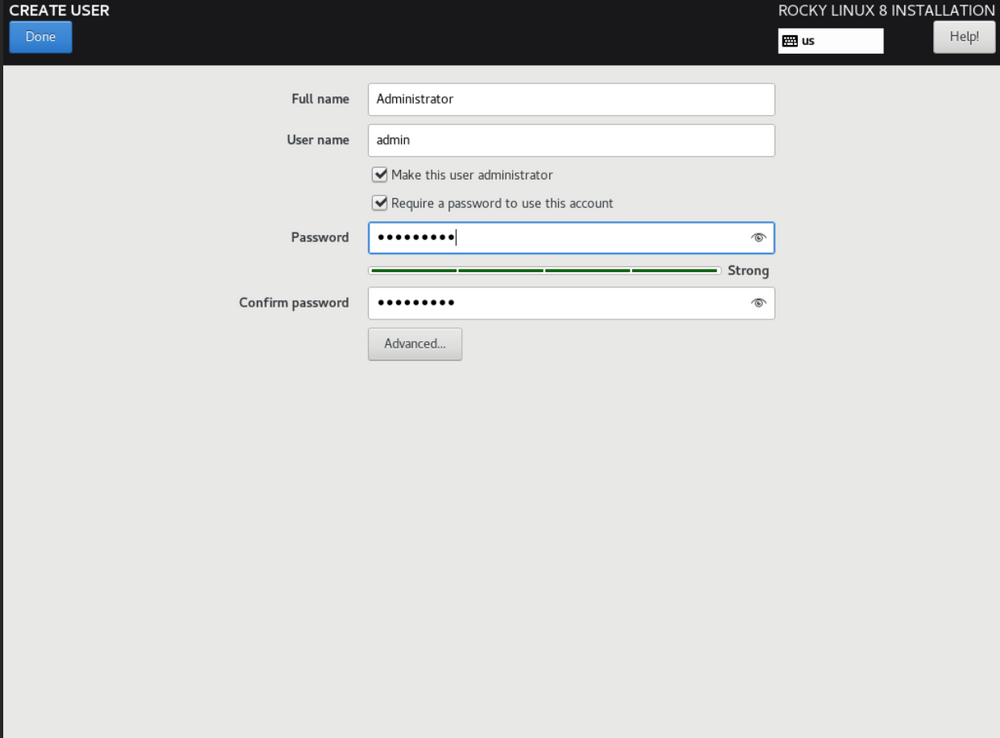
Select User creation and setup your admin account. We are not setting up the root account, instead we are creating an admin account with “Sudo” privileges so be sure to check “Make this user administrator”
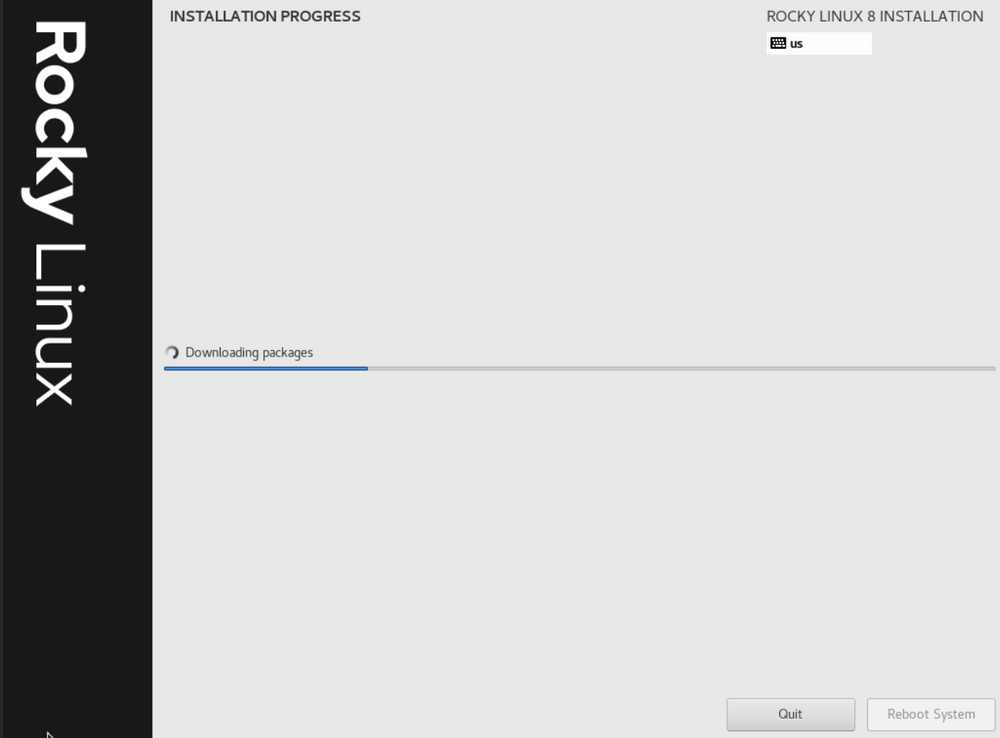
Select “Begin Installation”
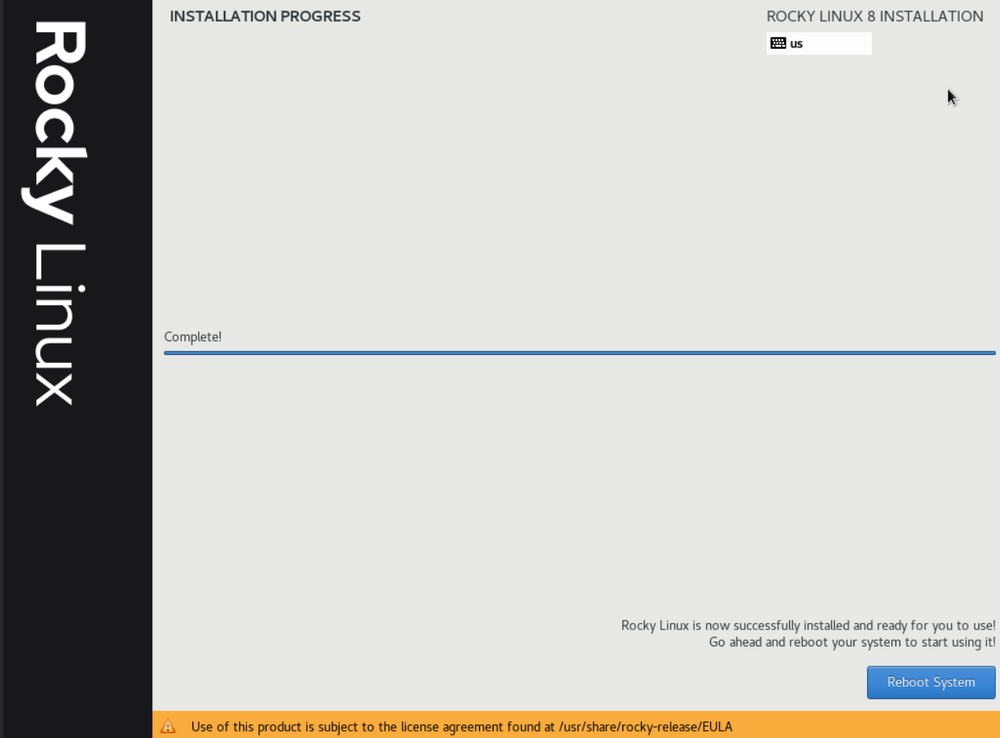
When the install is finished reboot your system and log in
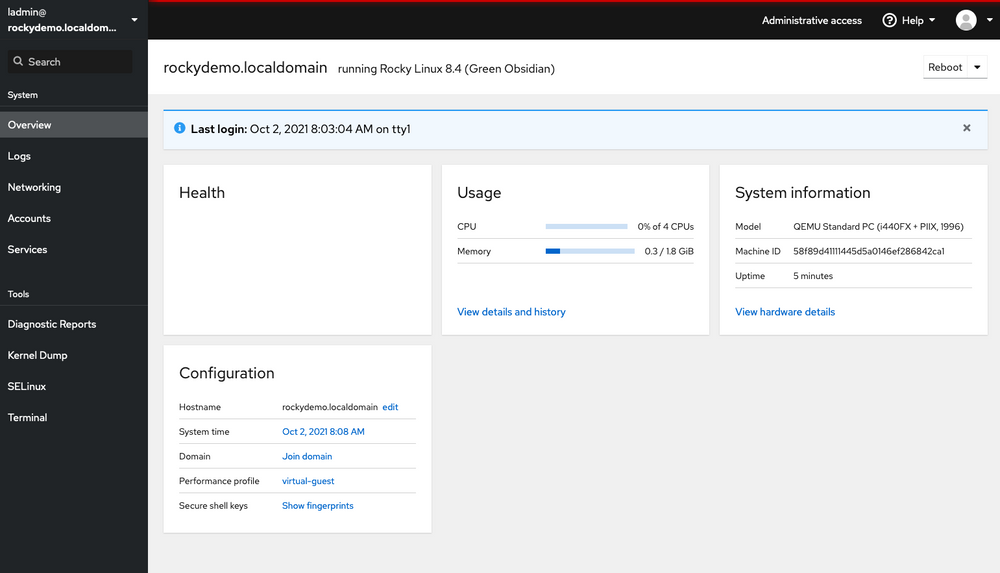
Once logged in run the following commands. This will setup the cockpit management web page. For us that page is https://192.168.1.172:9090. The second command installs semanage which allow the SELinux management console to operate in cockpit.
sudo dnf install cockpit
sudo systemctl enable --now cockpit.socket
sudo yum install policycoreutils-python-utils
sudo yum install setroubleshoot
(added sudo dnf install cockpit in order to support Rocky Linux 9 and above which no longer installs cockpit in the standard install)
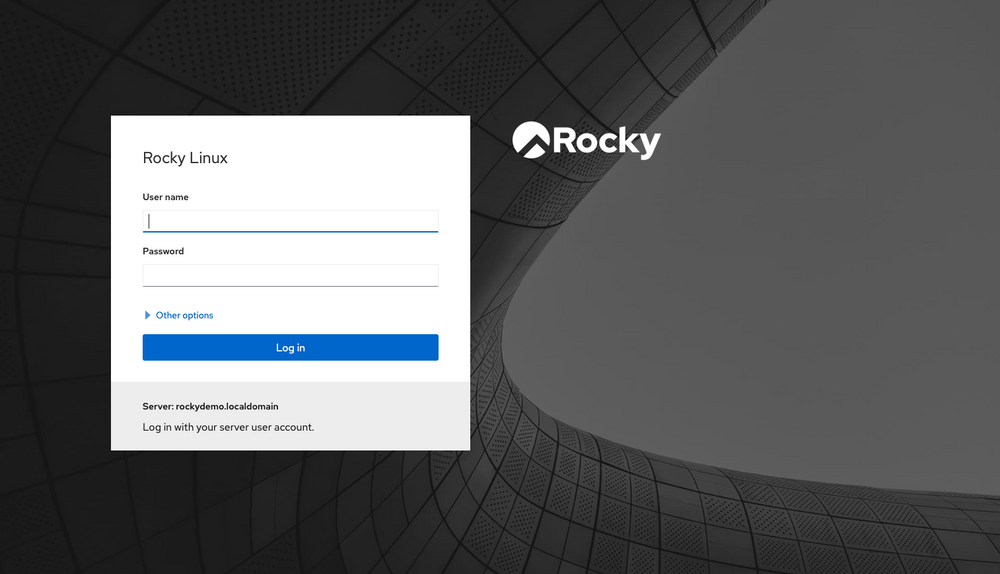
Now open your web browser goto cockpit and login
Cockpit allows you to view and manage your linux installation. For now the main feature we are going to take advantage of is the termial. Select the “Terminal” option on the bottom of the right hand column.
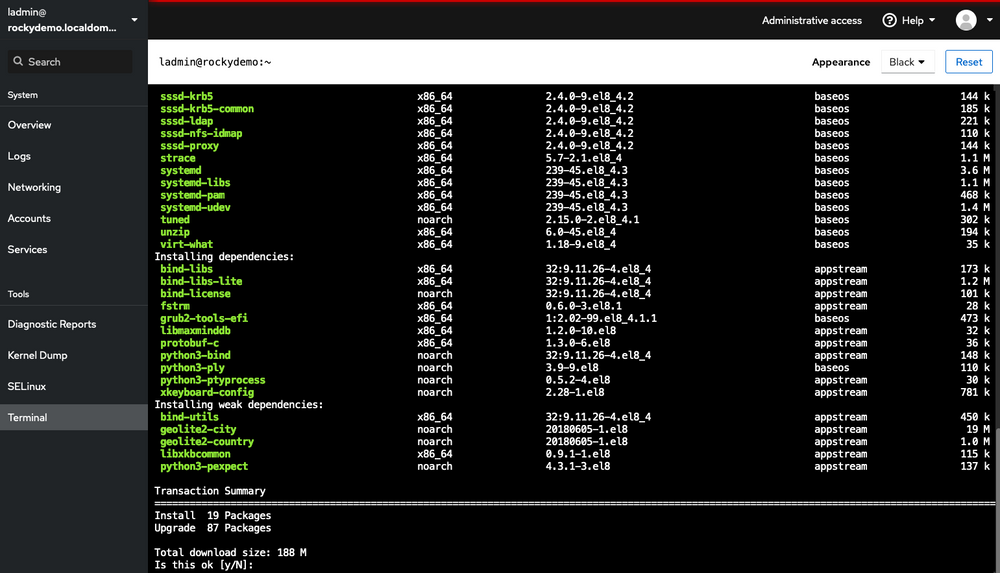
We are going to run a final command for this tutorial. DNF update which will update Rocky Linux and all installed software to the latest stable versions.
sudo dnf update
Be sure to type y when asked “Is this ok” you will be asked twice, once to download the updates and a final time to install them.
Finish up with a quick reboot to finish installing all the updates including SE Manage.
sudo reboot
Congratulations you now have a working up to date Rocky Linux server with a web based control panel!