Let GitHub pay your hosting bill
GitHub Pages is one of those features that is extremely that I think many do not realize the power and potential of. Git hub pages hosts static content, the internal pages you can create for projects or in repositories uses Jekyll a static site generator. However GitHub can serve up data from just about any static site generator as long as the files are in a repo. This website uses Ghost, then uses the Ghost Static Site Generator to create the site and git to push the changes to a repo. All of this is done by a 5 line bash script. GitHub then serves it up using a domain hosted on Cloud Flare. These instructions are how to set up this system.
For or these instructions I am starting with a fresh RockyLinux install per the Rocky Linux, Install tutorial.
This tutorial is in several sections
- Setup Node.js
- Setup Ghost & Ghost Static Site Generator
- Setup and start a ghost website
- Setup GitHub
- Setup Script
Ghost runs on Node.js and version 14 of node has the lease amount of issues with this specific setup. The assumption for these instruction is you are using an admin user with sudo privilages but not the root account.
- Install Node.js & Wget on Rocky Linux
sudo dnf update
sudo dnf install wget
sudo dnf module list nodejs
sudo dnf module install nodejs:14
node -v

- Setup Ghost & Ghost Static Site Generator
We will be install the ghost-cli and use that cli to deploy ghost.
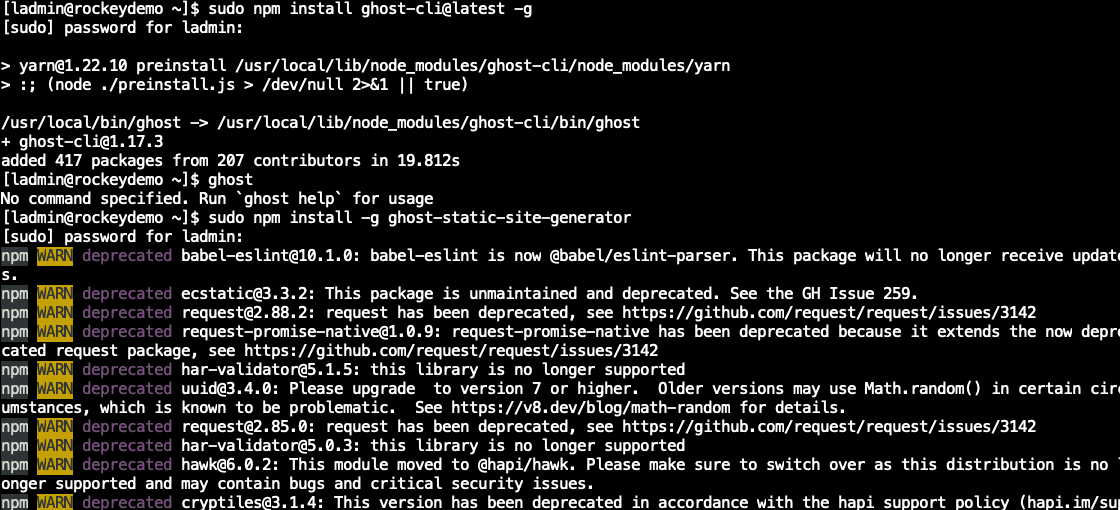
sudo npm install ghost-cli@latest -g
sudo npm install -g ghost-static-site-generator
- Setup and start a ghost website
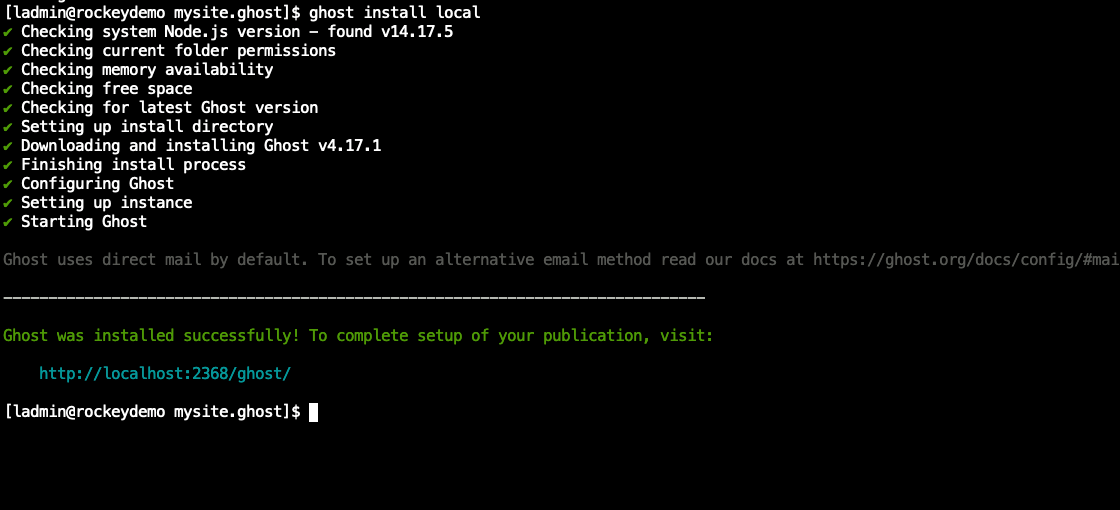
From the user home directory create a folder for the ghost site. Then enter that directory and install ghost, which will also activate the ghost server.
mkdir mysite.ghost
cd mysite.ghost
ghost install local
There are two things you may need to do. First is open port 2368 on your firewall, and second is edit the config.development.json and replace the url https://localhost:2368 with the servers ip address http://192.168.1.100:2368. Make the same change to the host but just use the ip address “localhost” to the servers ip address “192.168.1.100”
If you change the config.development.json you can use the ghost stop and start command to stop ghost and restart it with the new settings
ghost stop
ghost start

You now have working ghost site. Go to the the ip address and add /ghost to the end to get to the admin interface (http://192.168.1.100:2368/ghost) Create your accounta and let ghost setup the initial website.

- Setup github
Within the ghost site directory create a folder named github. Change Directory into the new folder and create the upload.sh script.
mkdir github
cd github
From your github.com account create a new repo “username.github.io”
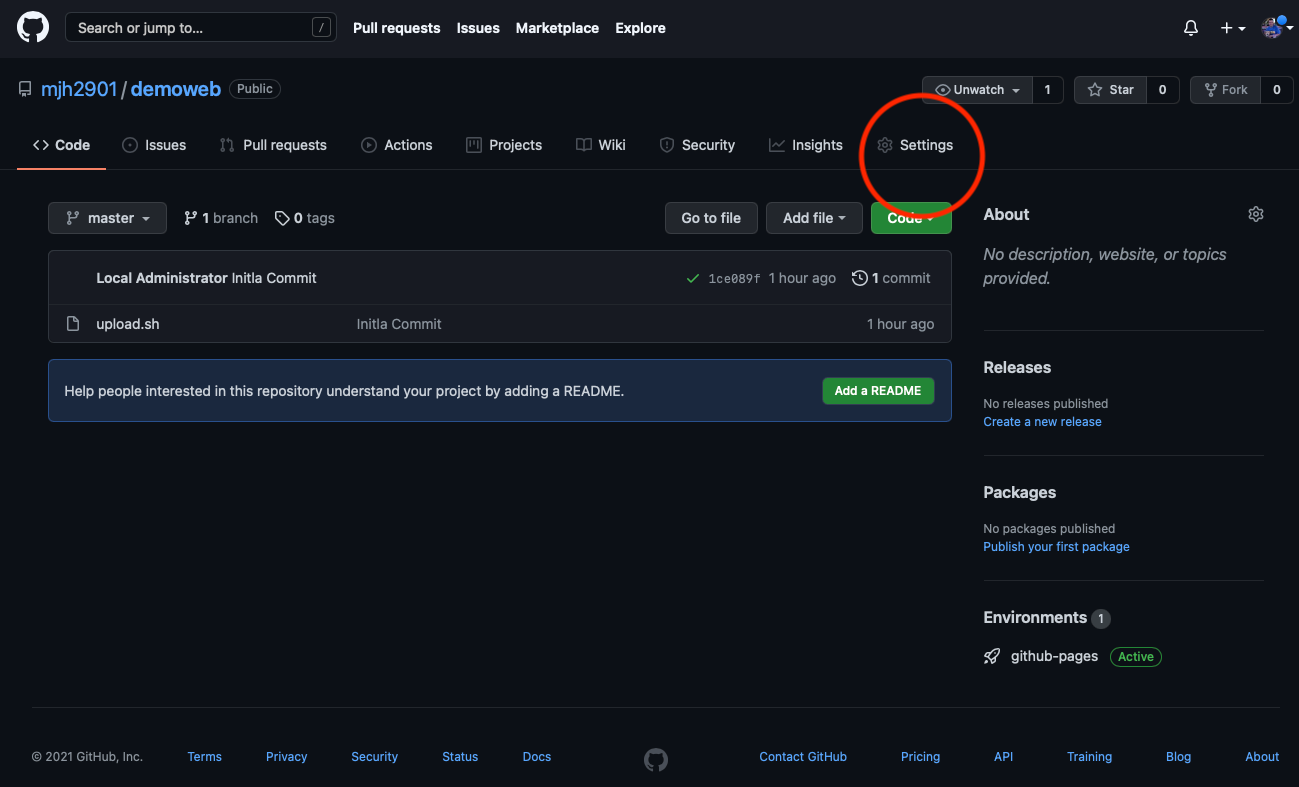
In your new repo go to “Settings”
Select “Pages”
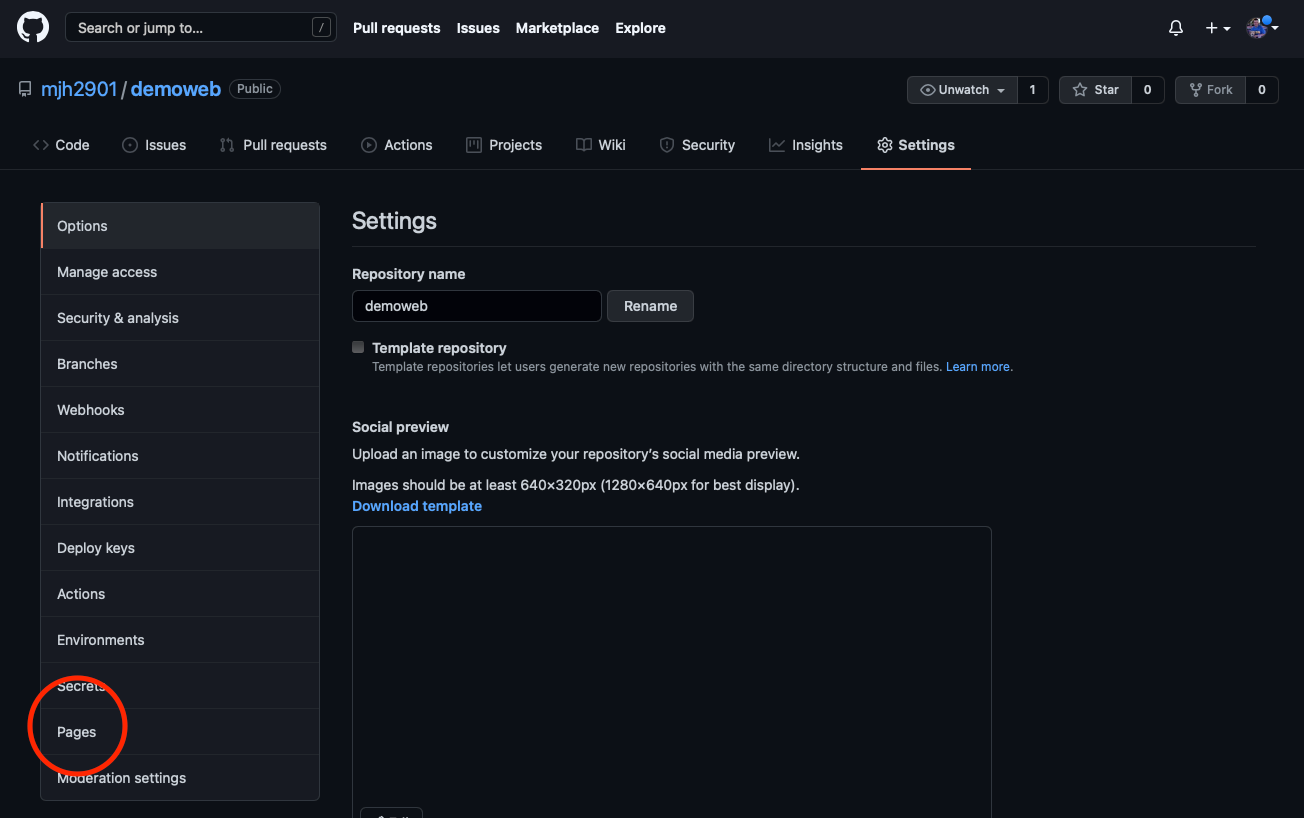
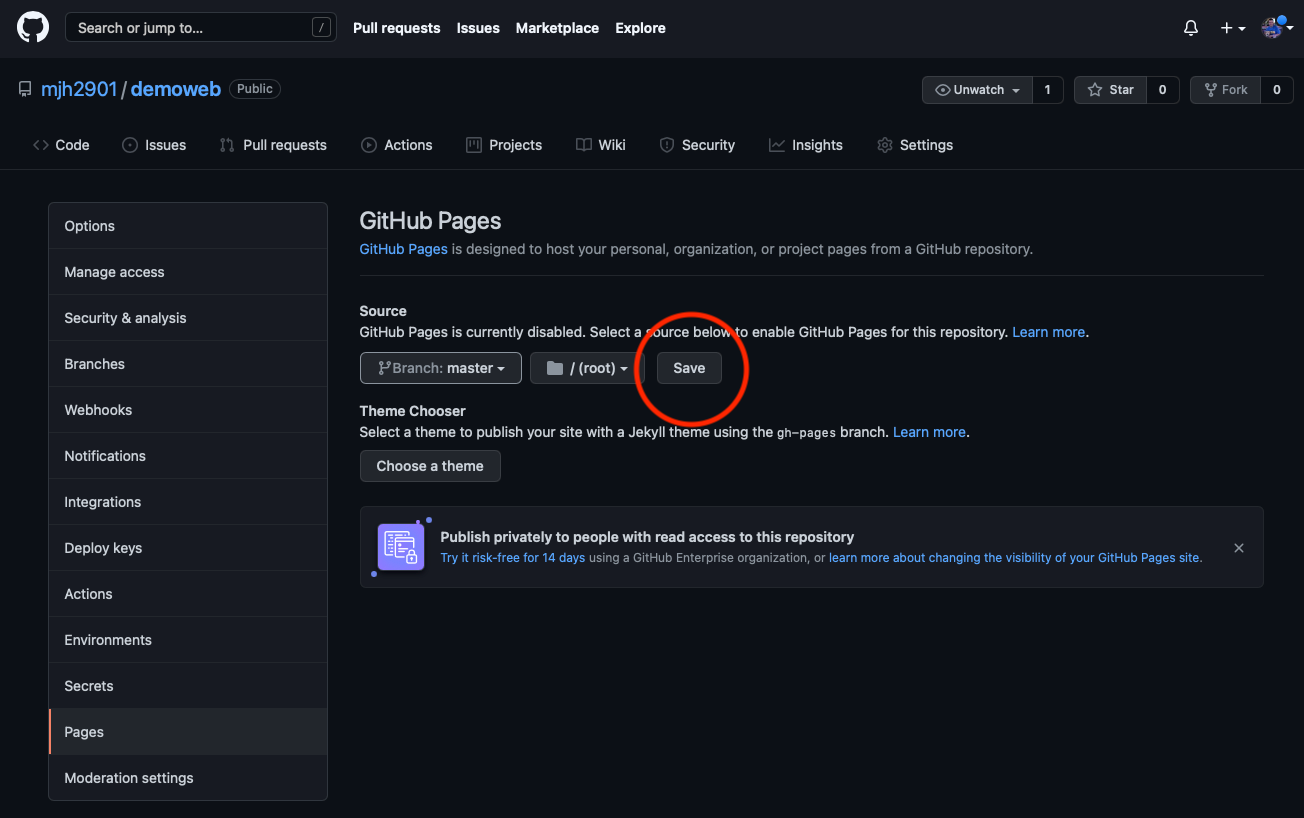
Set the source to “master”
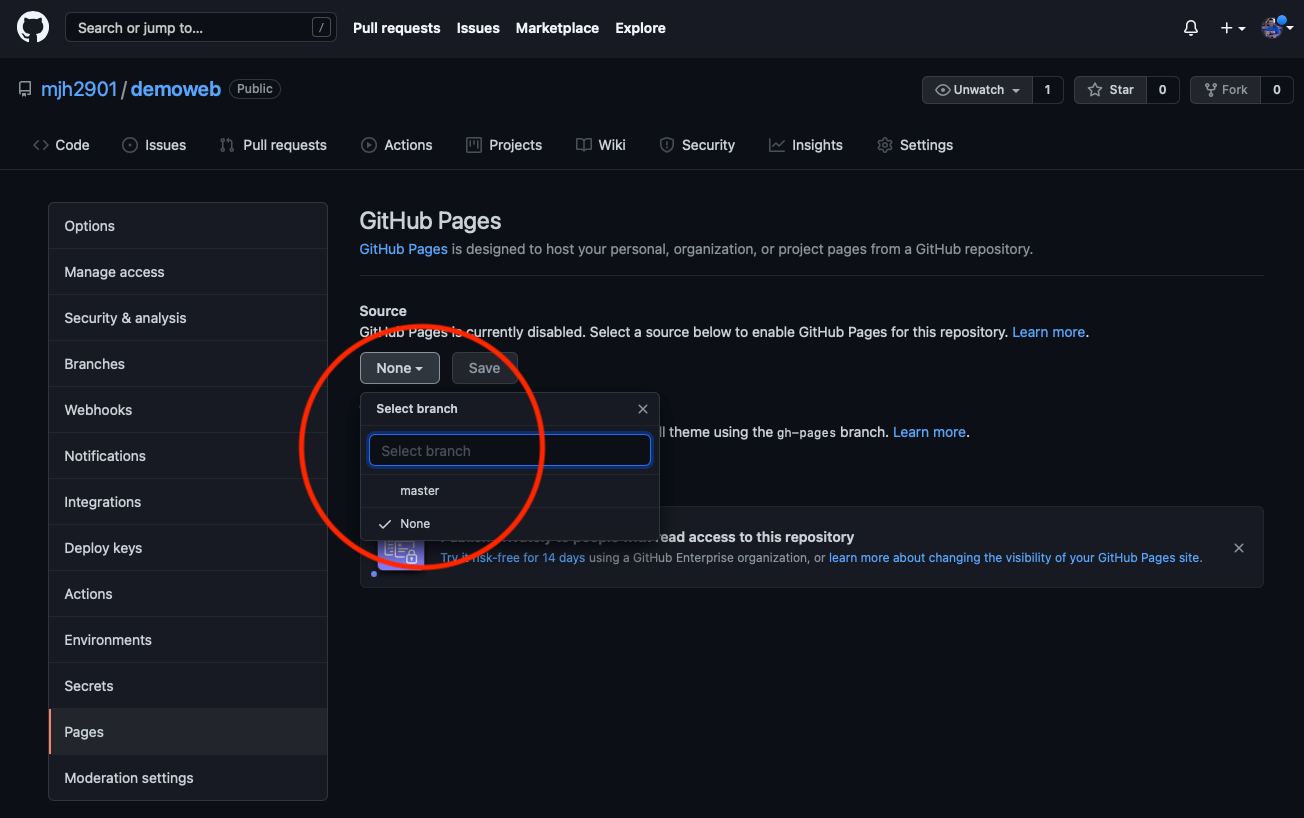
Save the settings to setup the website publishing, note it can take 30 minutes for the site to become live. Since we have not actually uploaded any pages yet this should not be a problem.
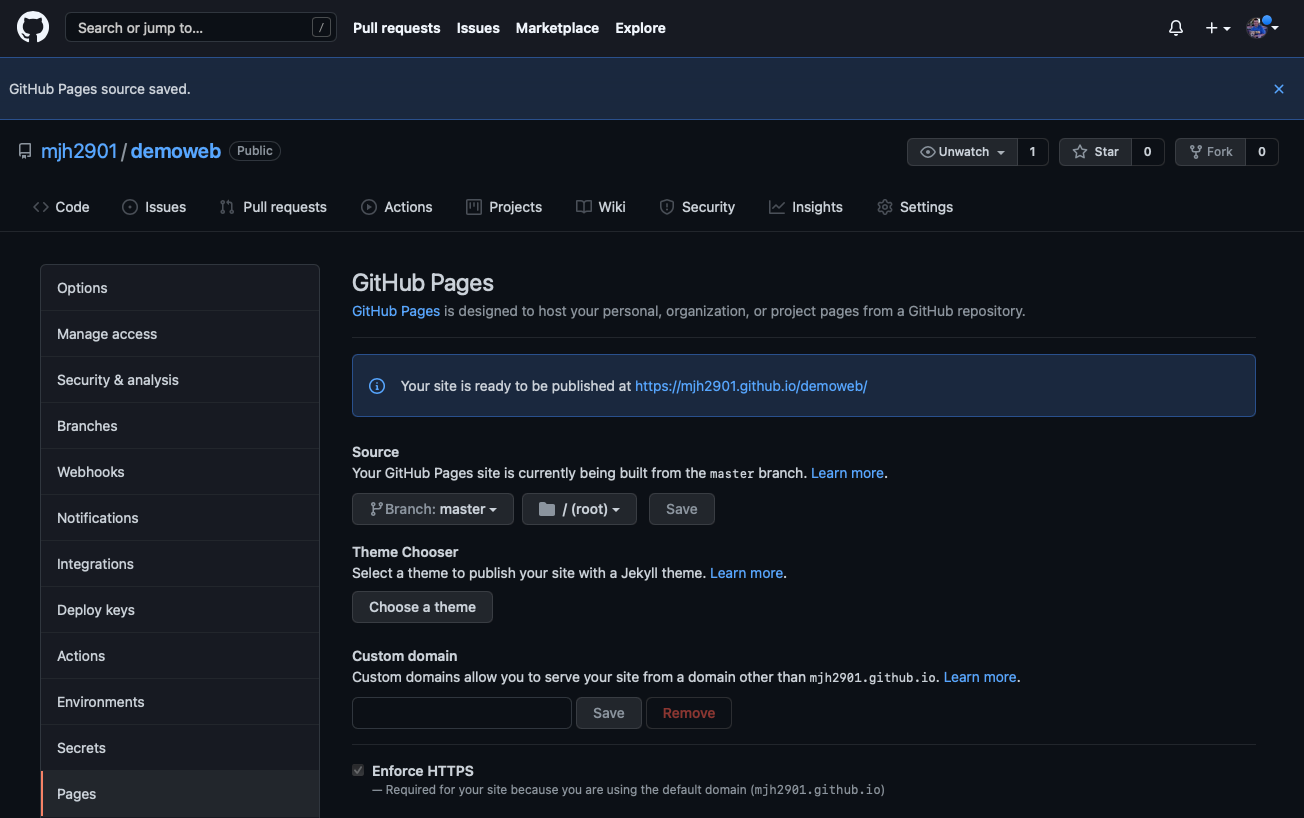
Note the url of your new website (Your site is ready to be publshed at https://username.github.io) You will need this address for modifying the script to set all the links to the correct url.
Now on your server from inside the github directory you just created setup your git project and connect it to github. Be sure to replace user and repo.git with your git username and your repo name.
sudo dnf install git
git init
git remote add origin http://github.com/USERNAME/REPOSITORY.git
git remote -v
Create and edit the upload.sh file with nano, past in the script below and make the necessary changes to the gssg line to match your computers setup and change the url to match the github pages url setup earlier.
nano upload.sh
#!/bin/bash

# this script will create a static version of your ghost site in a folder named docs
# then upload the new static version of your site to your github pages project
# github will then publish the static pages


# replace "ghostserver" with your actual server url
# replace "you.github.io" with your github pages url

gssg --domain "http://ghostserver:2368" --dest "docs" --url 'https://you.github.io'

# prepare changes for git
git add * && \
git add -u && \

# you can change the statement with whatever you with to show on github in the comments
git commit -m "autoupload changes via publish.sh script"

# push changes to github
git push
Change the permissions on the script to execute.
chmod u+x upload.sh
Now that you have linked your local machine to the git repo and created the first file for the repo we need to setup git to remember your username and password so the script can run without requireing authentication. Please note if you are using two-factor authentication with github you will need to setup and use a personal access token instead of a password.
git config --global credential.helper store
git add *
git commit -m "first commit"
git push --set-upstream https://github.com/mjh2901/demoweb.git master
Now change the permissions (again) and run the script
sudo chmod u+x upload.sh
./upload.sh
Go back to git hub (Last time) to the pages interface, you should now be able to select the /docs folder as the website location
Now go to your ghost website published on github