Build the ultimate Docker setup!
We are going to take a vanila Rocky Linux server install Docker. We are also going to add a web front end to manage docker known as Portainer. Finally to we are going to setup our docker containers to automatically update themselves with a program called WatchTower. Once finished you will have an easy to manage Docker system that updates all of your containers automatically.
So what is Docker? Docker is a platform that allows you to build, test, and deploy application quickly. Docker software is a system that allows you to host containers. Think of docker like Virtual Machines, accept instead of the machine containing a full operating system it contains the bare minimum required to run / host a specific app. A virtual machine hosting a webserver may take 10 gigs of space where a docker container hosting a webserver may take up only a couple of gigabytes. Containers are smaller and requre fewer resources than virtual machines. Docker containers are also easy to deploy allowing one to start running an applications in a few minutes vs hours setting up a VM or Server from scratch.
How To: Here we are going to take our base Rocky Linux install and install docker, portainer, and finally install WatchTower to keep all our containers up to date.
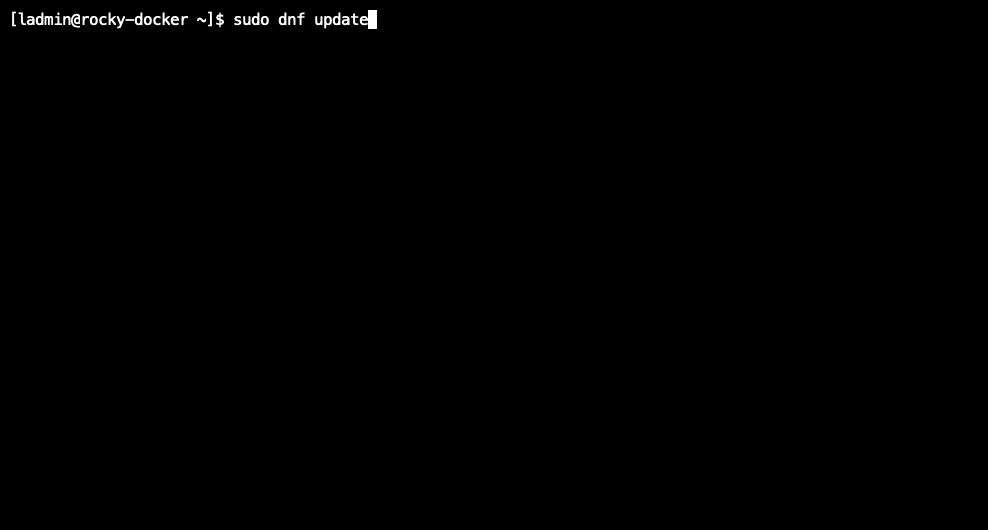
Start with your base Rocky Linux install and make sure it is up to date.
sudo dnf update
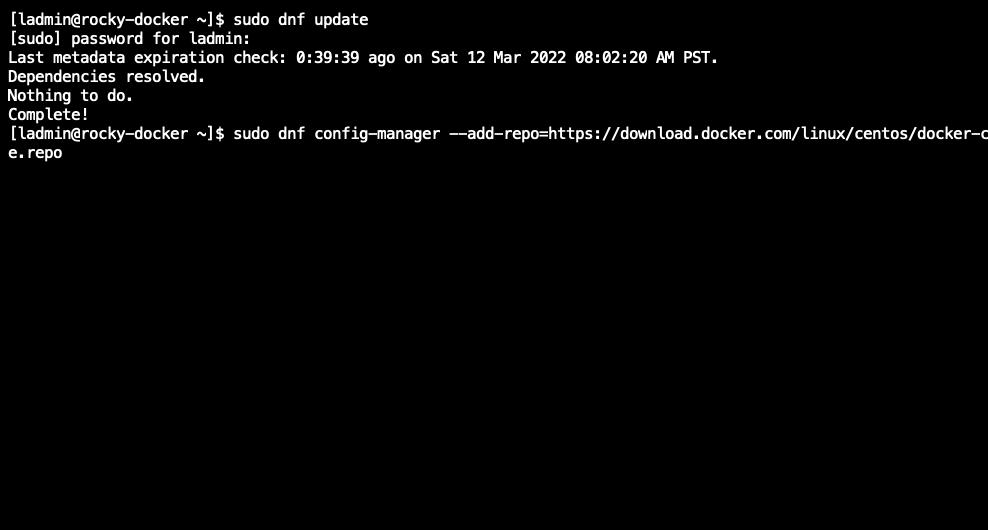
Now we add the docker repository to our machine
sudo dnf config-manager --add-repo=https://download.docker.com/linux/centos/docker-ce.repo
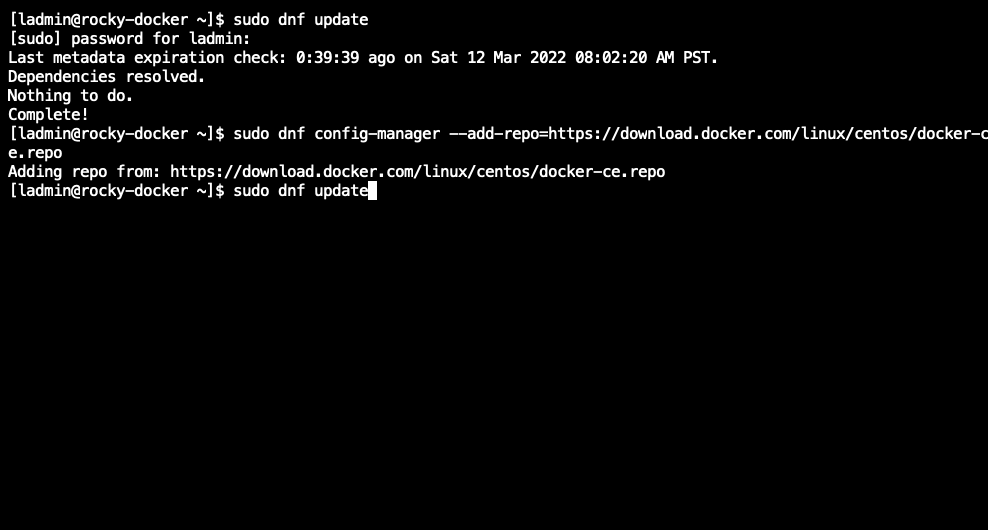
Update our repos (again)
sudo dnf update
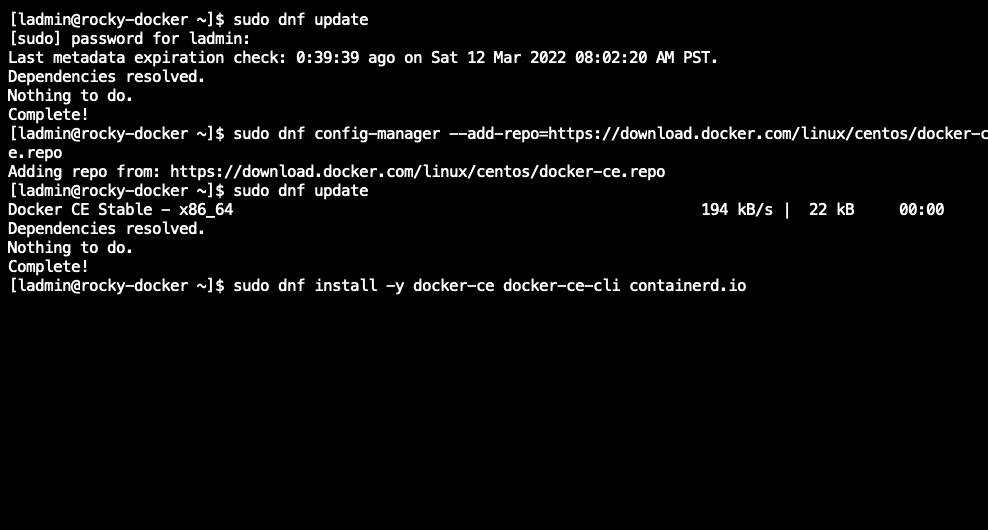
Install docker
sudo dnf install -y docker-ce docker-ce-cli containerd.io docker-compose-plugin
Enable Docker
sudo systemctl enable docker
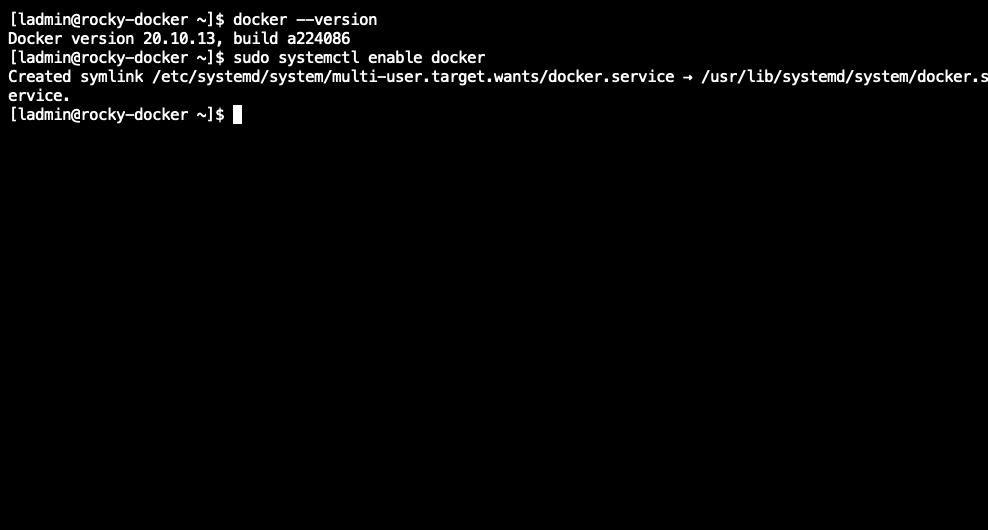
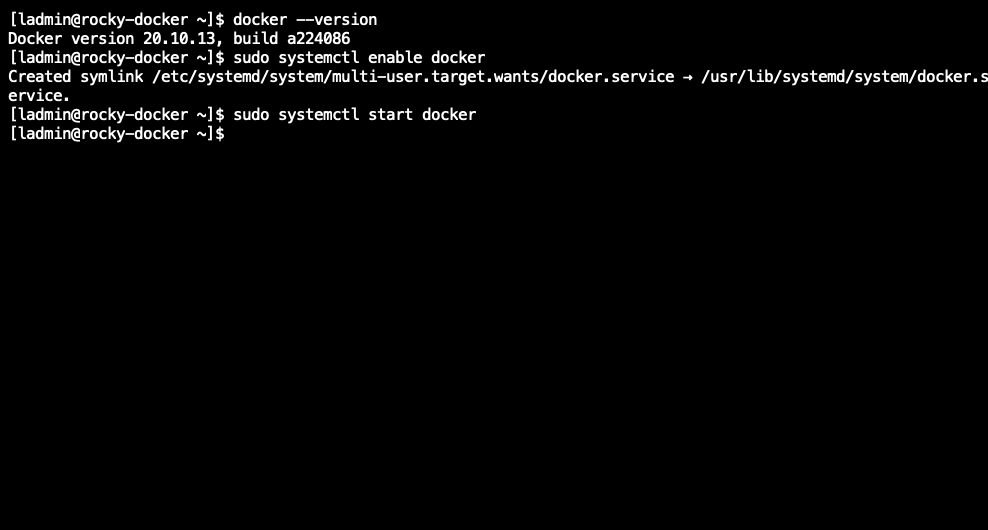
Start Docker
sudo systemctl start docker
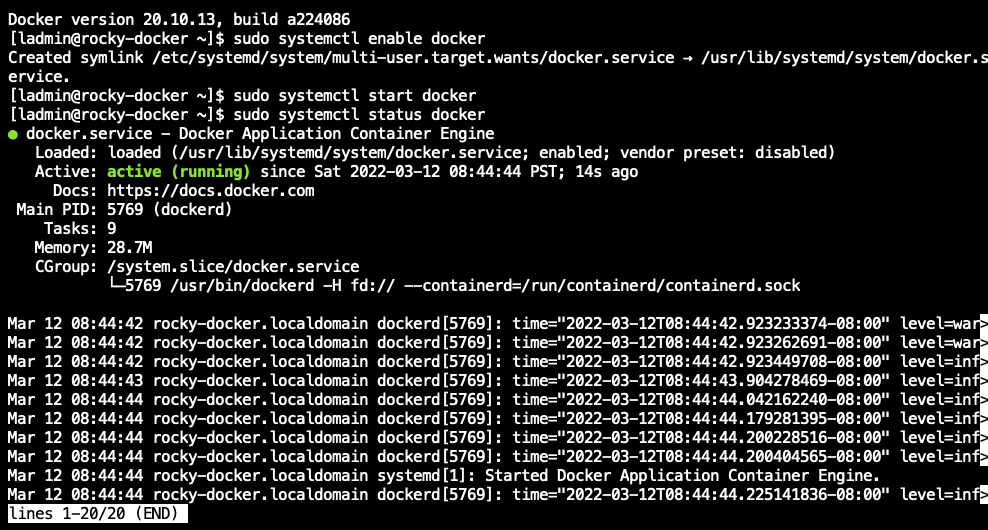
Check that Docker is running
sudo systemctl status docker
(hit control z to exit the docker status screen)
Now we are going to install Portainer, Portainer provides a web front end for managing docker.
First we create a a storage volume for portainer named portainer_data
sudo docker volume create portainer_data

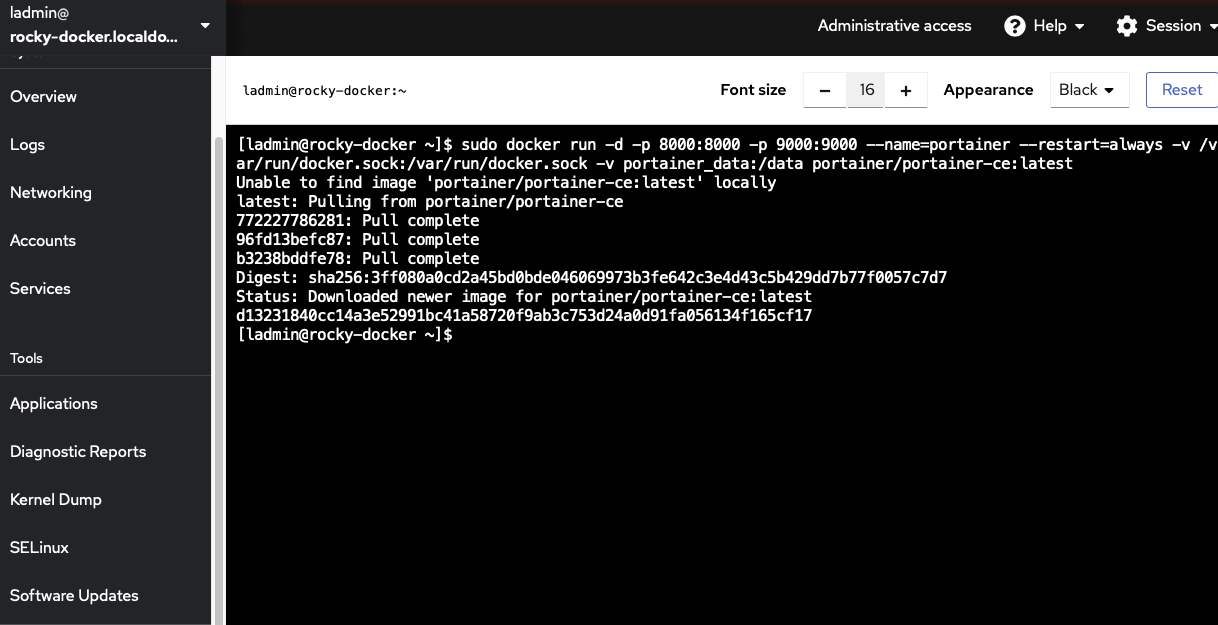
Now we are going to download, install and start Portainer using the docker run command. In this setup we will be using the sudo command to control docker.
sudo docker run -d -p 8000:8000 -p 9443:9443 --name=portainer --restart=always \
    -v /var/run/docker.sock:/var/run/docker.sock \
    -v portainer_data:/data \
    portainer/portainer-ce
Now we are going to configure portainer. From a web browser go to https://your_docker_server_ip:9443
You will be asked to create an admin username name and password.
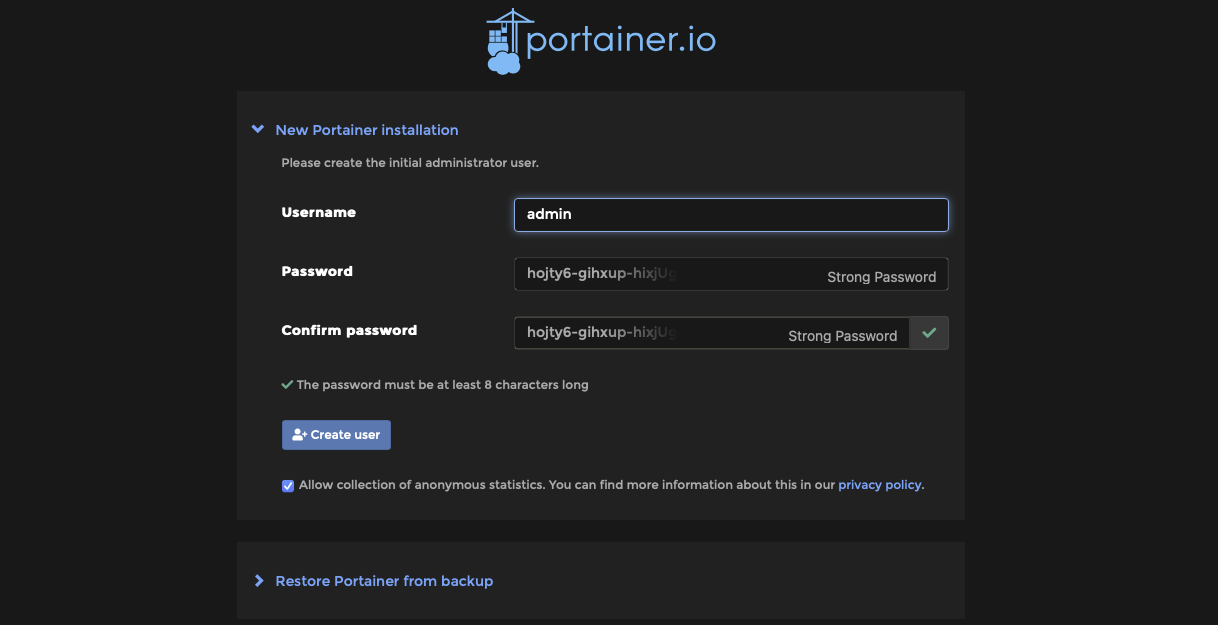
Now that you are in Portainer select “Home” on the right hand side.
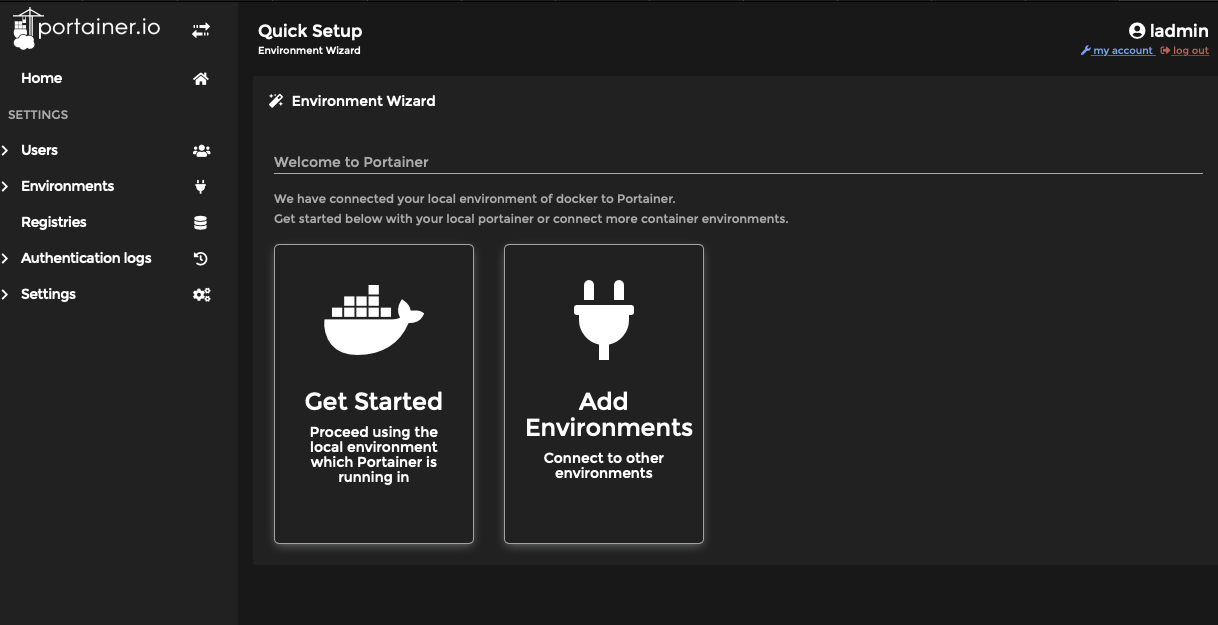
Select “local” by clicking on the docker wail boat icon
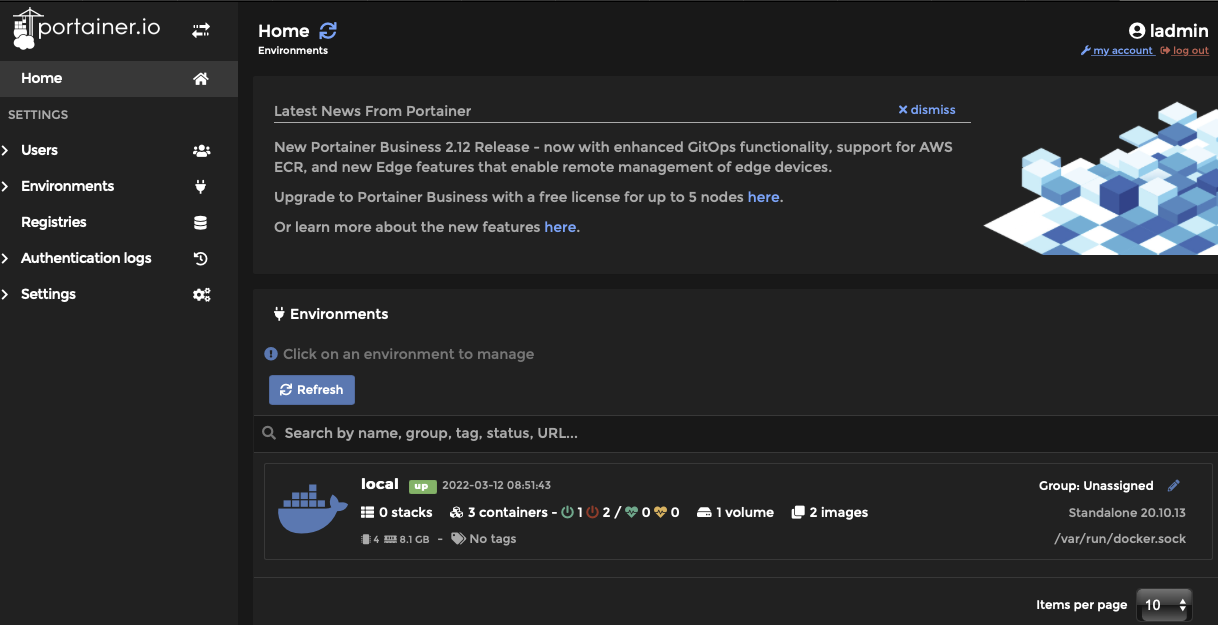
Now select the “Environments” option on the right hand menu
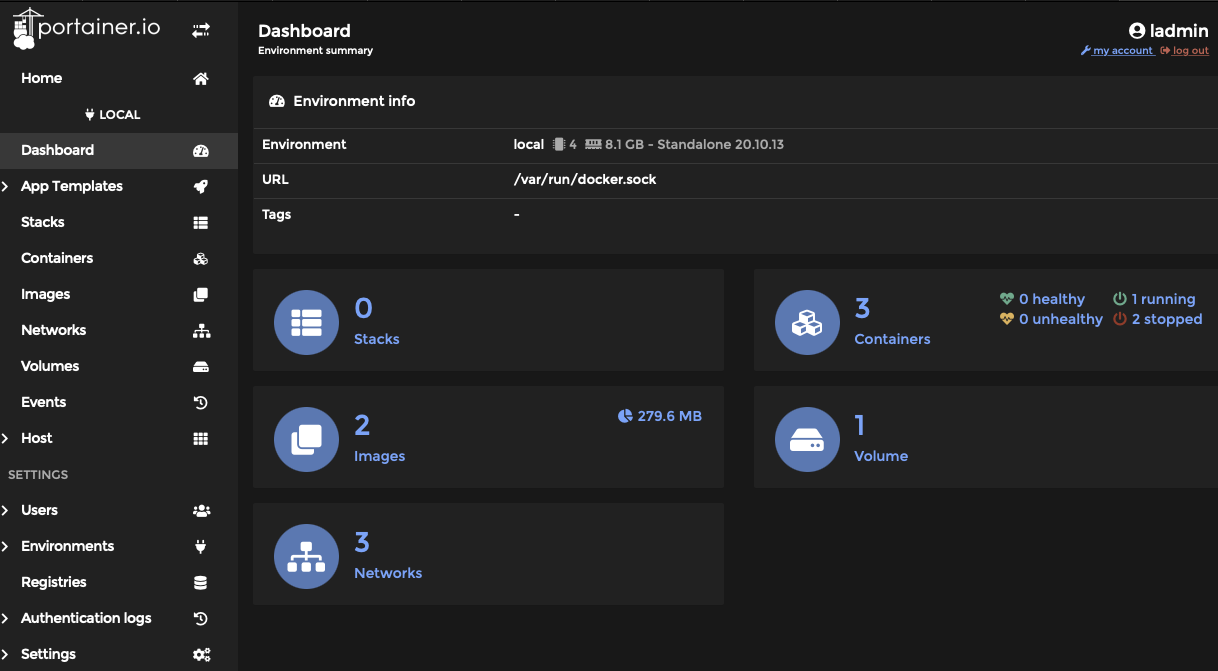
Select “local”
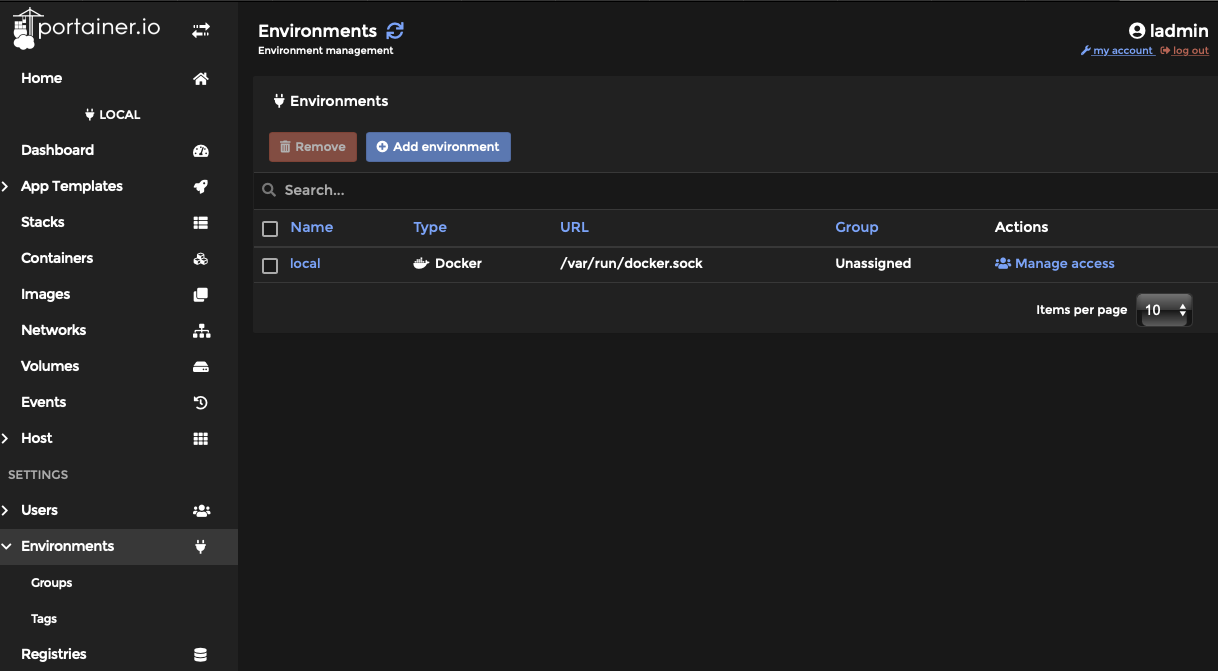
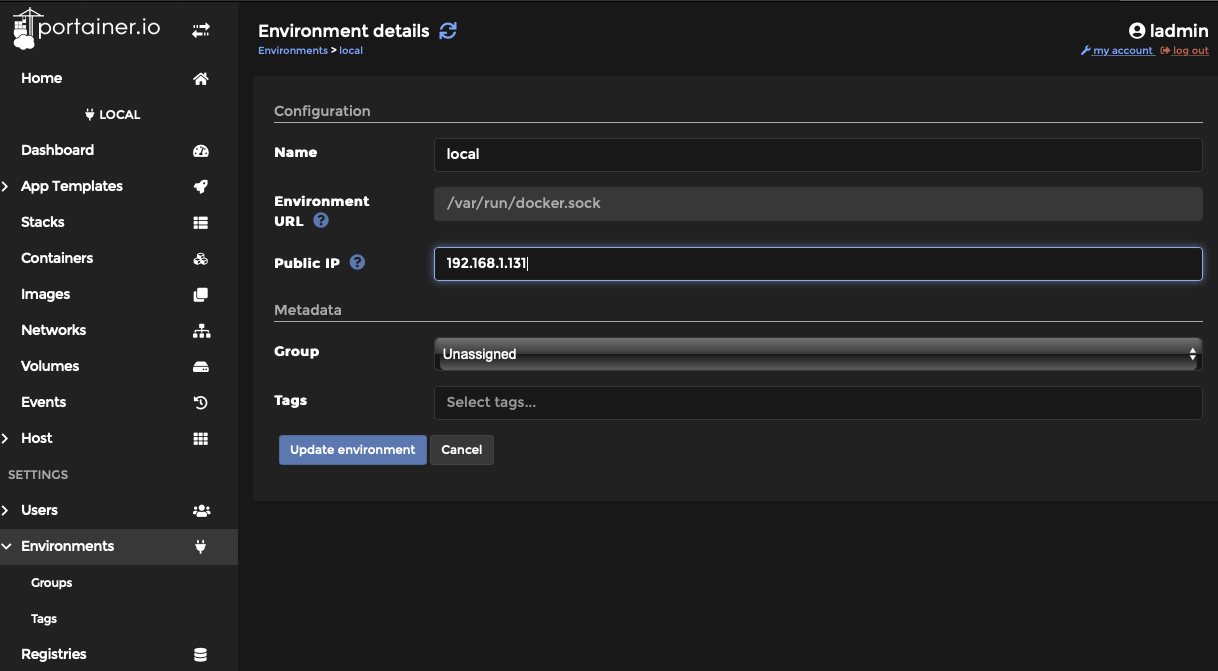
Now where it says “Public IP” add the IP address of your docker machine. This will allow you to click on ports to get to applications when you setup docker containers.
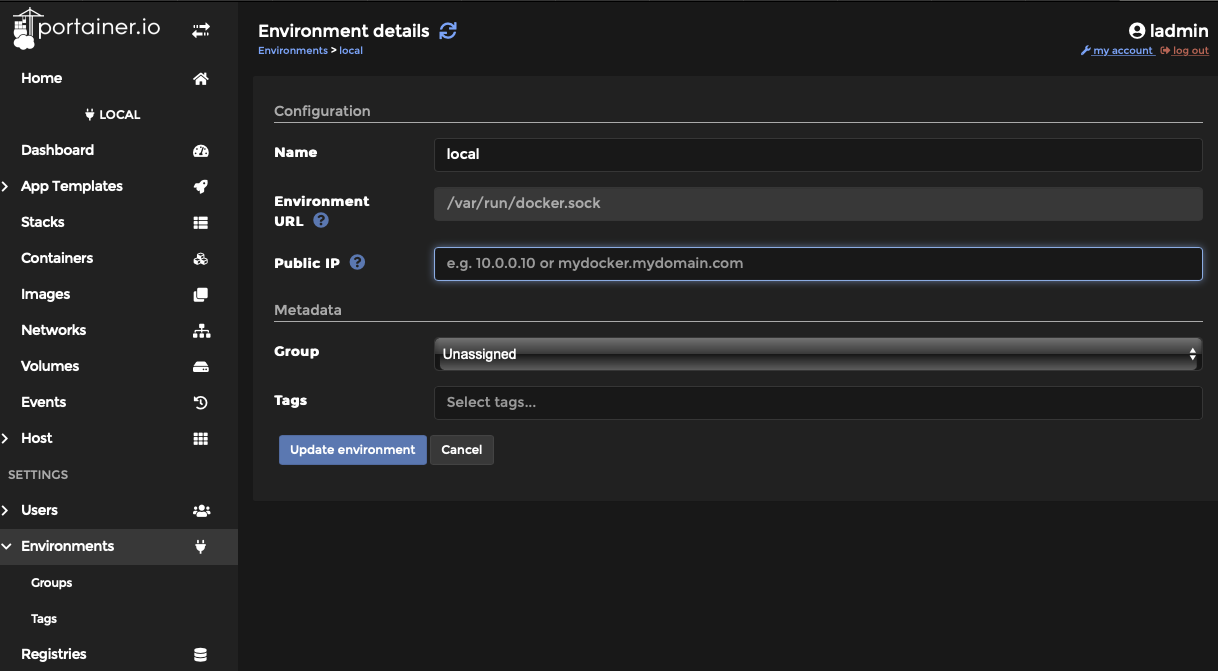
Once installed select “Update Environemt” and you are good to go.
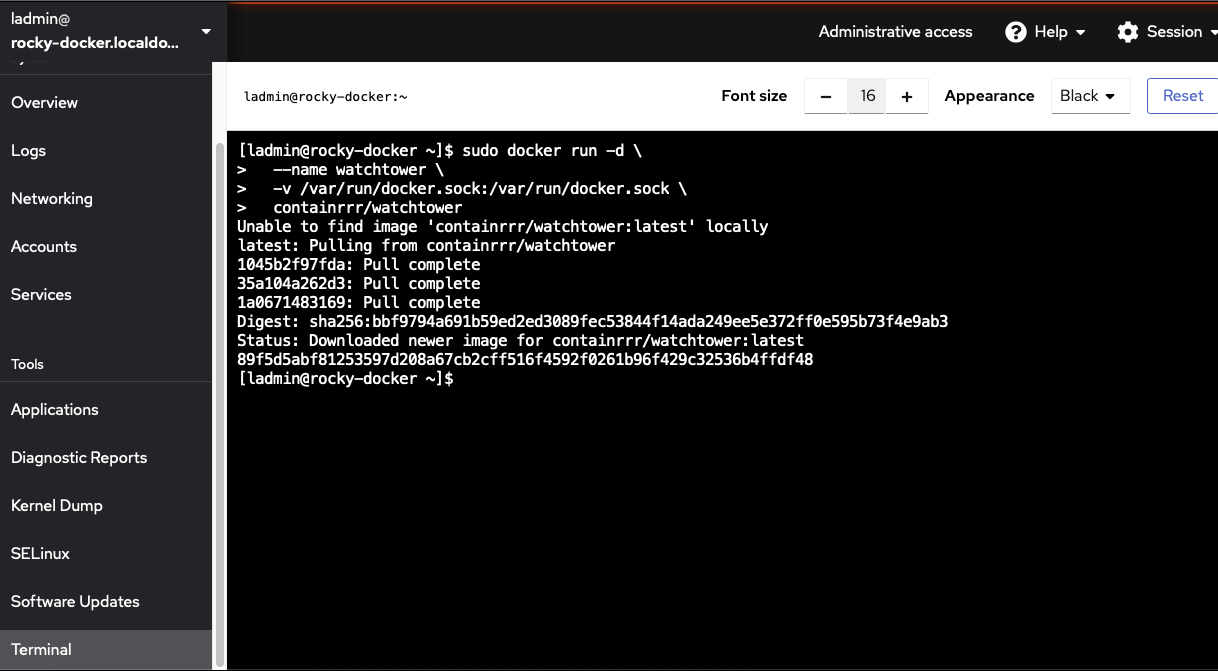
Now we are going to install Watchtower. Watchtower is a container that watches our containers and their online source for updatets, when it sees a new update Watchtower downloads and updates the container. This allow your docker containers to remain up to date, without requires a large amount of effort on your part.
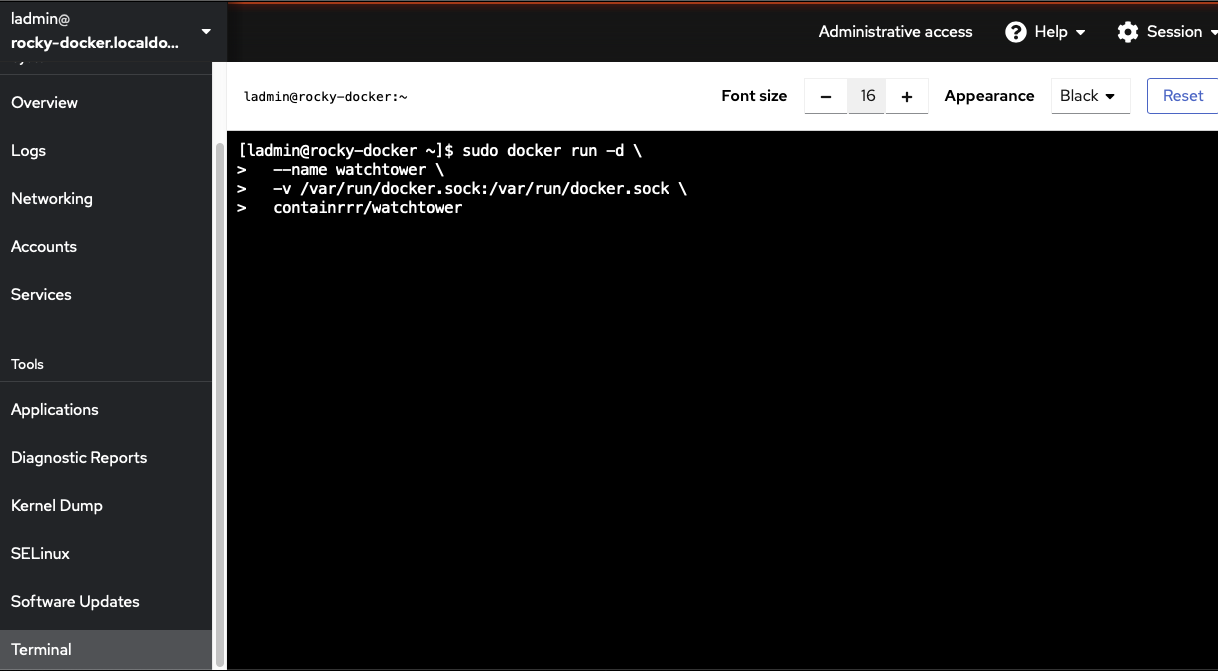
From the command line install watchtower
sudo docker run -d \
--name watchtower \
-v /var/run/docker.sock:/var/run/docker.sock \
containrrr/watchtower
Now when we go back into Portainer we can se our Watchtower container up and running
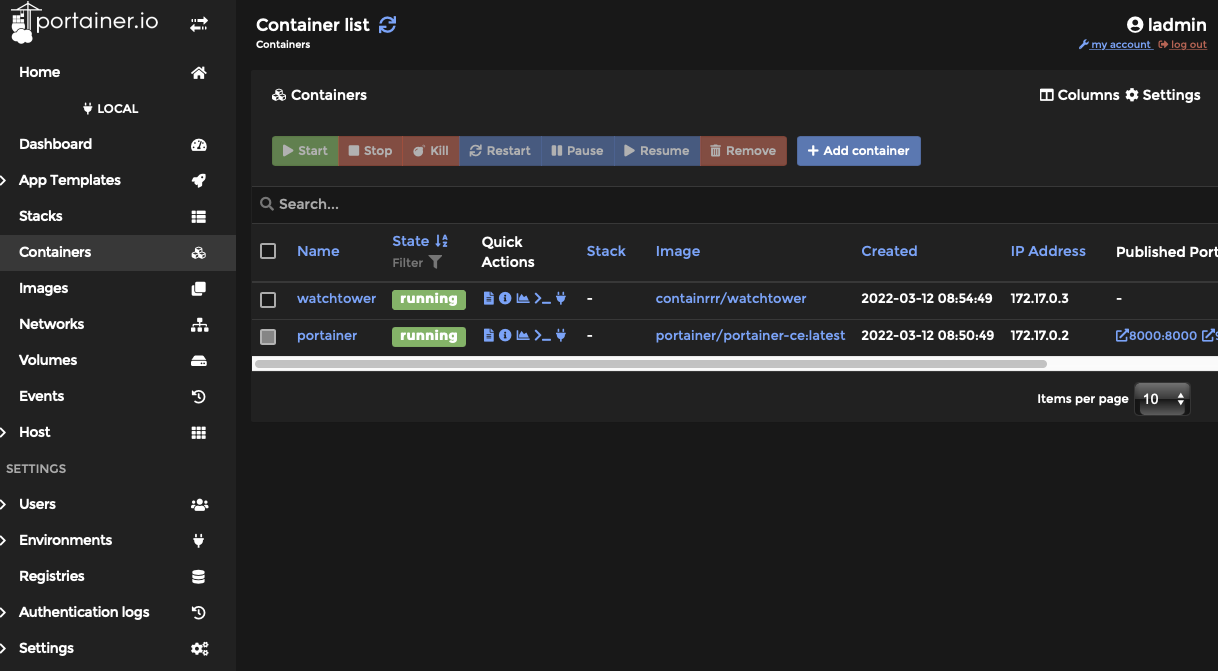
We have now installed Docker, setup a web front end for management with Portainer, and setup auto updates with Watchtower. Time to go fourth and try new things.
