Install MariaDB and phpMyAdmin using Docker & Portainer
The LAMP stack is probably the most referred to stack for apps in setting up a web server. Linux, Apache, MySQL, and PHP are the backbone or the basis of the backbone for most web applications out there. A lot of admins get started installing this basic setup. With Docker the app is broken up into pieces, a container for MySQL and Container for the app etc…
Most Docker deployments require a database set up in the deployment script. The problem with this is if you are going to run multiple application containers with multiple databases the initial installers will just set up a new database server each time to the point where you have multiple MySQL servers containers on one machine. Here we are going to set up one database server (MariaDB) and a GUI management system for the database (phpMyAdmin) they will run on their own internal network. In future deployment posts, I will adjust the deployment scripts to use this one database server instead of spawning new ones. For some containers, this is easy for others it’s a pain.
This article assumes you already have a Linux server running the latest version of Docker and Portainer. Portainer is used to manage Docker containers and gives a good GUI for docker. There is a tutorial to set up Docker and Portainer combo here.
We will go through several steps to create our MySQL / MariaDB environment. First we will create a separate network in docker, then install MariaDB followed by phpMyAdmin to give us an interface for managing the databases.
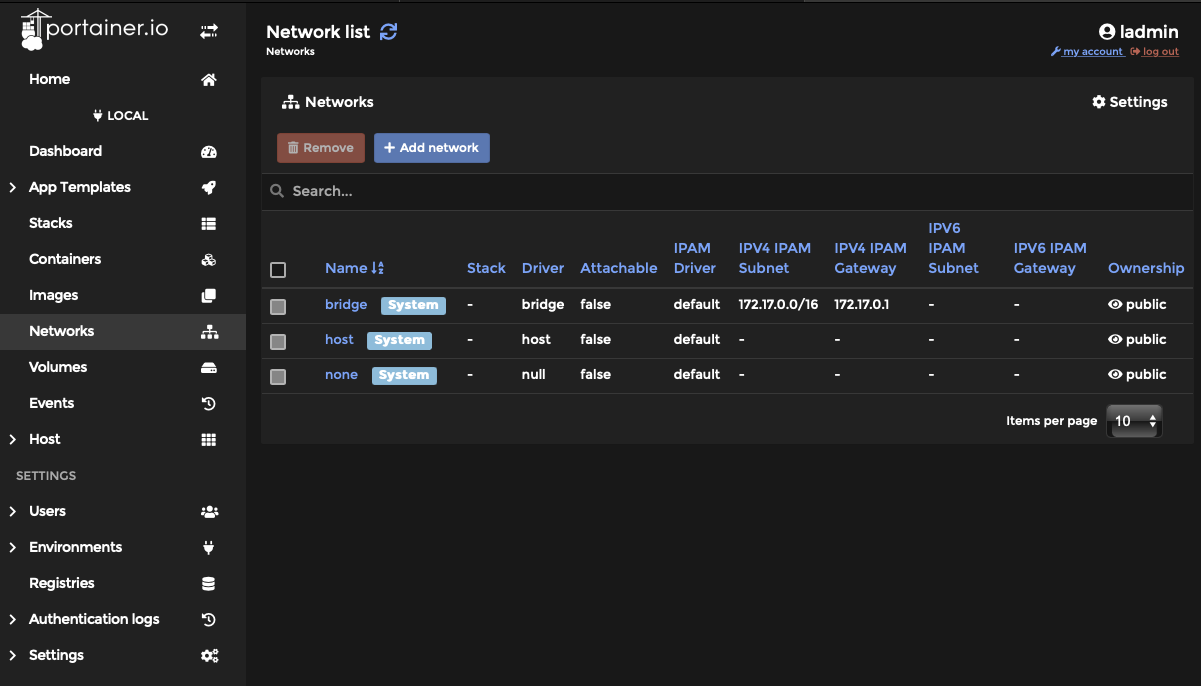
Step 1: Log into Portainer, Select Networks then select “+ Add network”
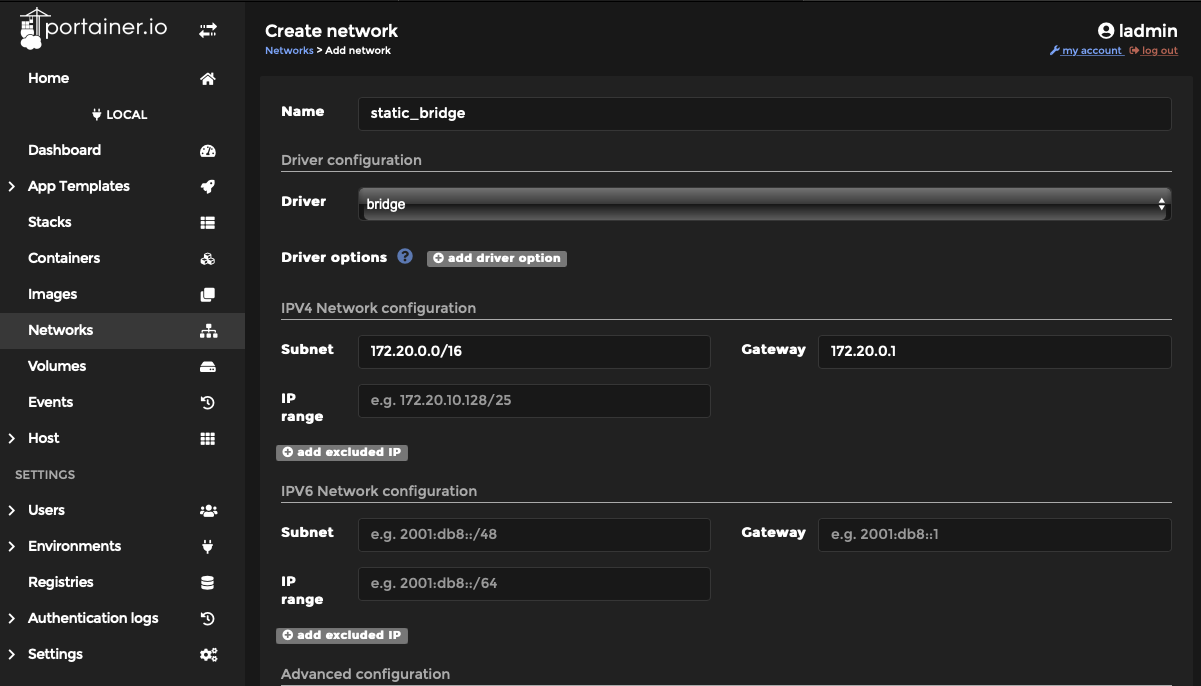
Step 2: Create a bridge network and name it something for our example we are naming the network “Static Bridge”
Set Driver to “Bridge”
Set Subnet to something we are using 172.20.0.1
Set the appropriate gateway
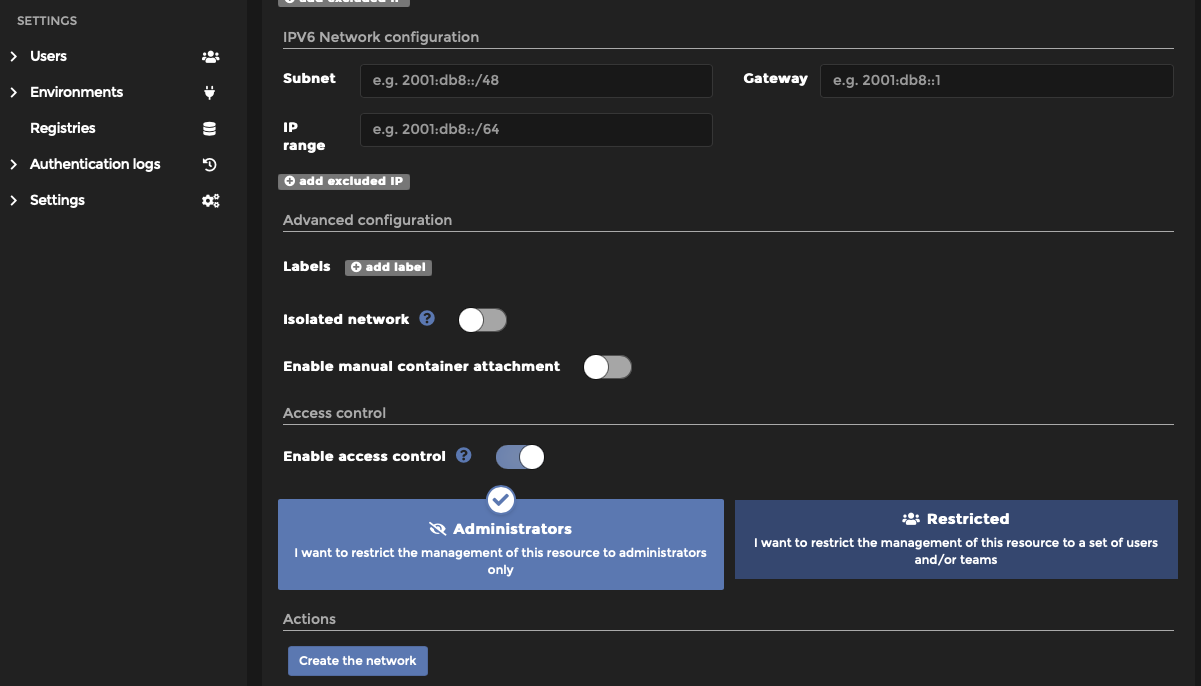
You should need to set nothing else verify and select the blue “Create the network” button at the bottom.
Step 3: From your server command line run the following command to install MariaDB. Be sure to change the root password to the password of your choice. Also, Change the location of your MariaDB data by changing the “location on your server drive” to the desired storage location. Depending on your installation you may or may not need to use the sudo command.
sudo docker run -d --name mariadb \
-p 3306:3306 \
-e MYSQL_ROOT_PASSWORD=password \
-v /location on your servers drive/mariadb:/var/lib/mysql \
mariadb
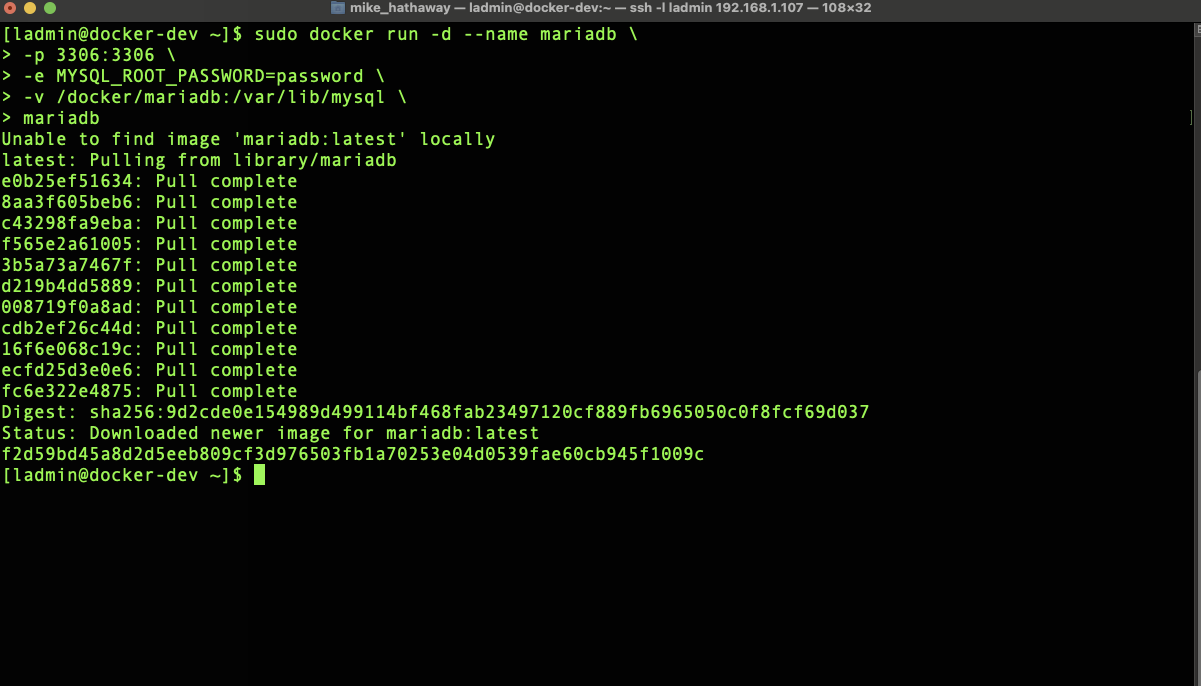
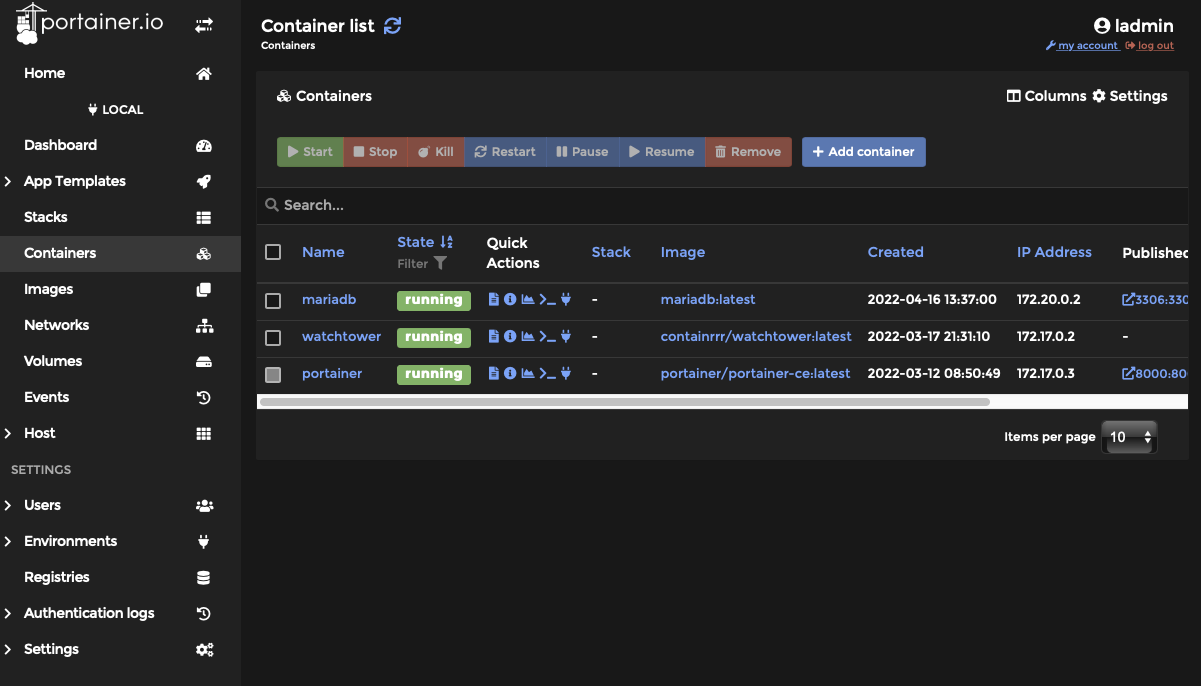
You should now have a MariaDB server container running in docker.
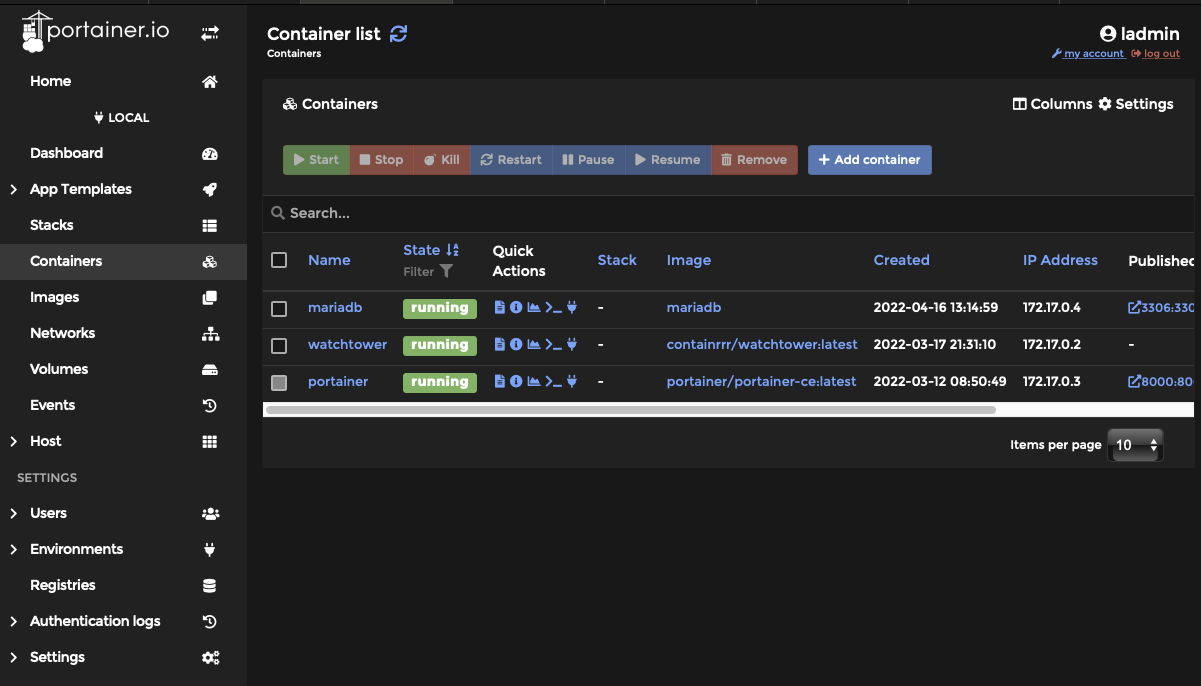
Step 4: Move your MariaDB server from the bind network to your Static Bind network. This could be done in the docker run command but for this article, we will do it manually in Portainer.
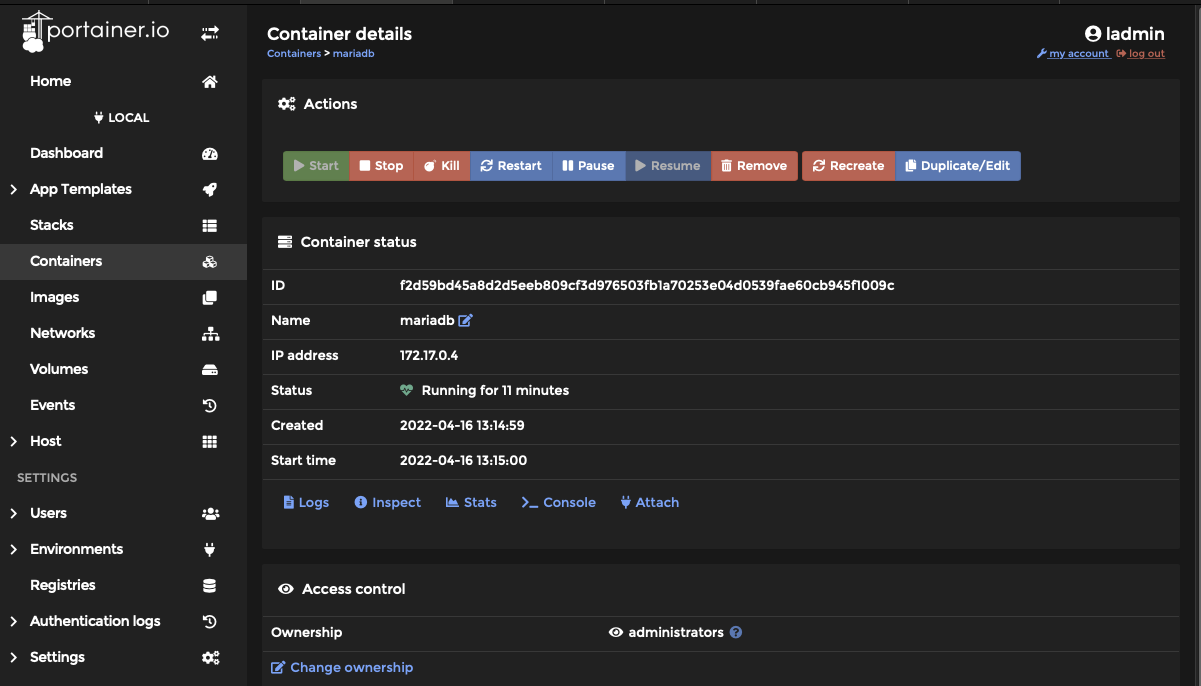
From Portainer select your MariaDB container by its name. From the resulting dialog select “Duplicate/Edit”
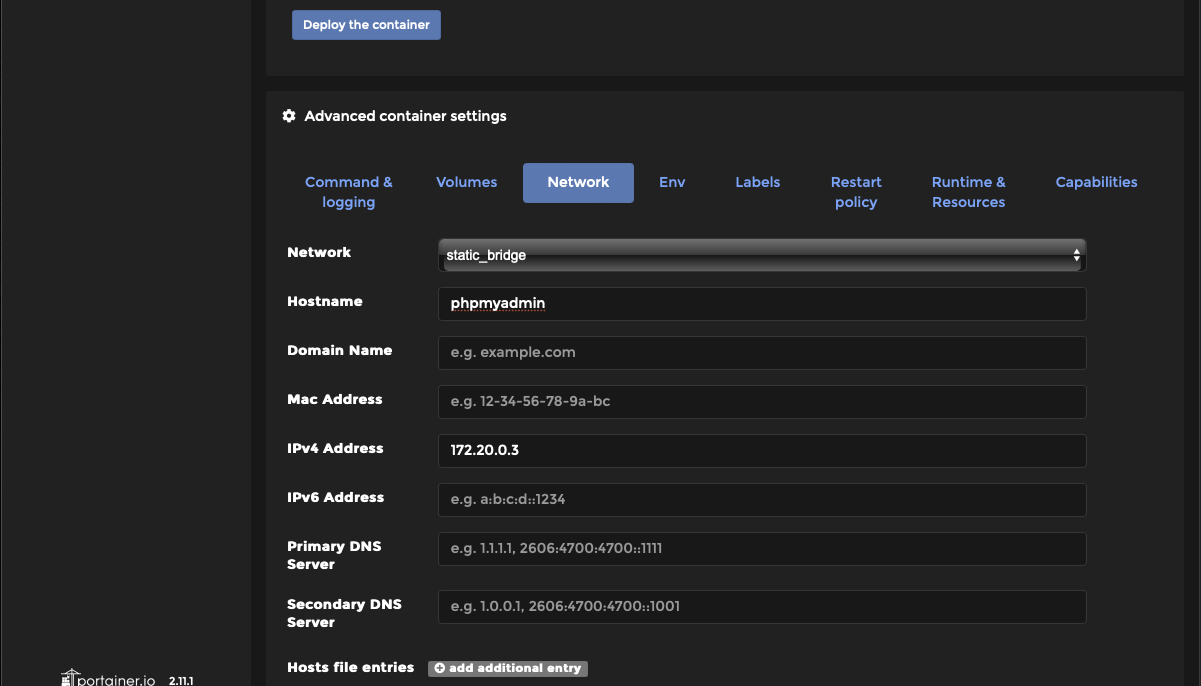
Step 5: Under Advanced container settings select “Network”. You are now going to set a static IP for your MariaDB server. By setting a static IP whenever the server reboots it will have a consistent address instead of risking Dockers dhcp issuing a different address. When running something like watcher that automatically updates and reboots containers this will prevent your database setup from “breaking”
Here we have set 3 things
Network = your static bridge network Hostname = your containers name (this is optional) IPv4 Address = an address in the static bridge network, I like to use .2 for the server and .3 for phpMyAdmin which we will be installing later.
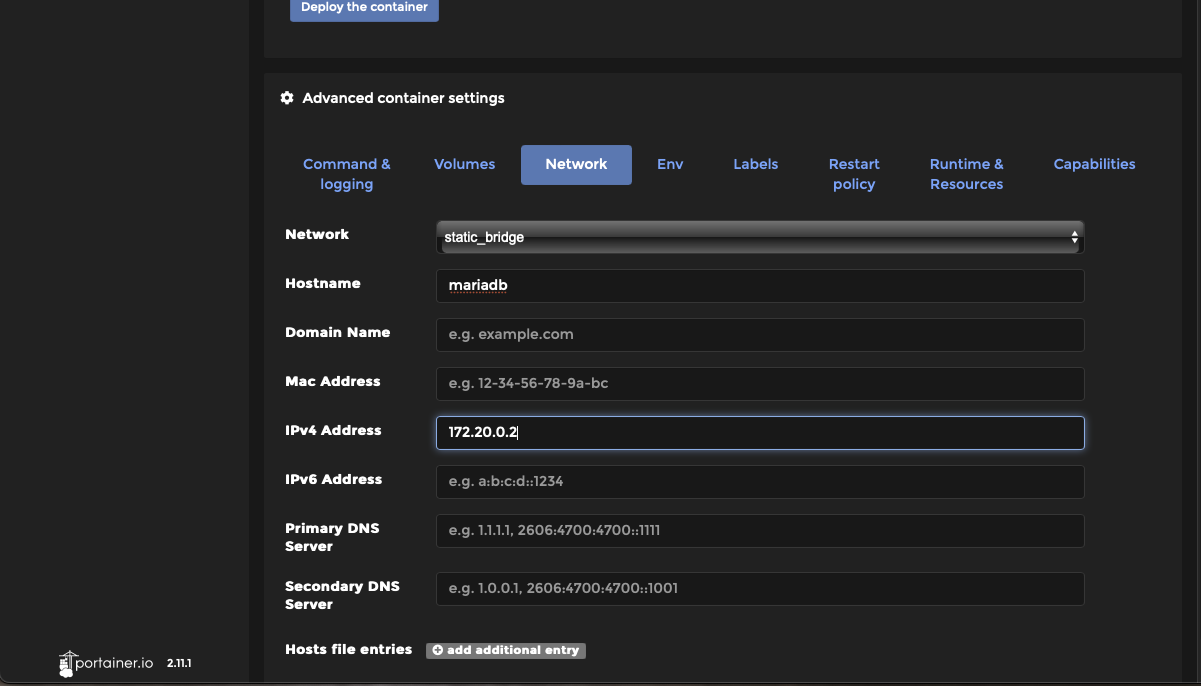
Step 5: Select “Deploy Container”. Which is above the advanced container settings and not below.
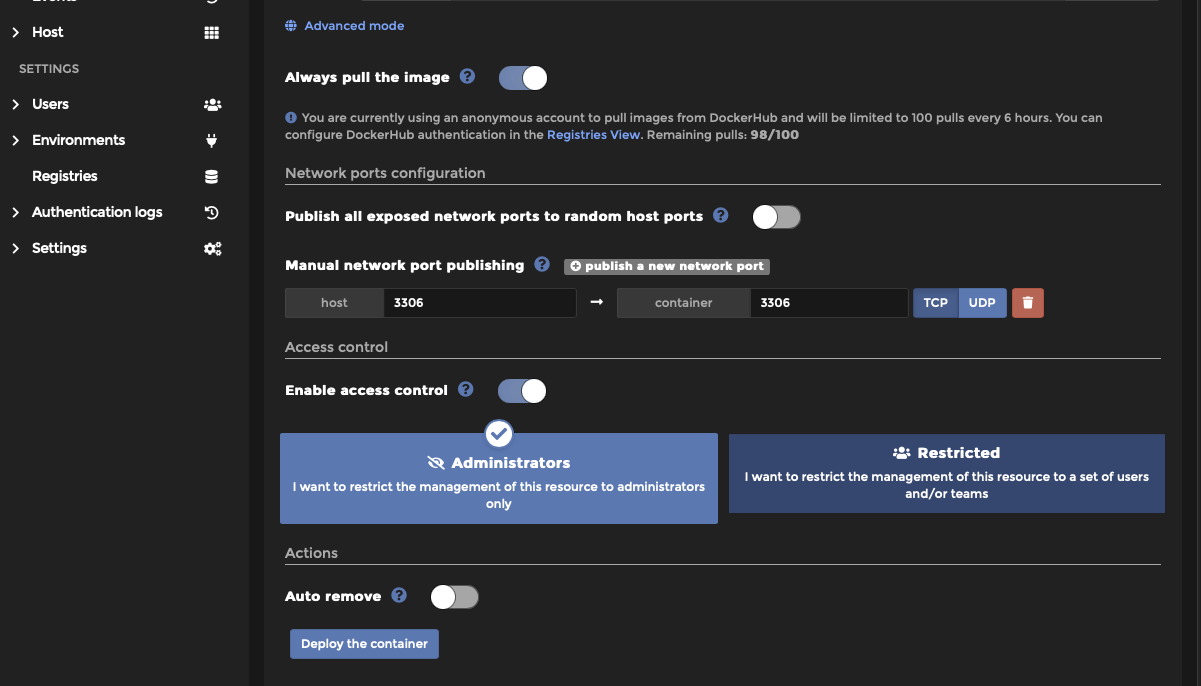
Step 6: Select “Replace” when asked, “Are you sure?”. This will recreate your container to match your new settings.
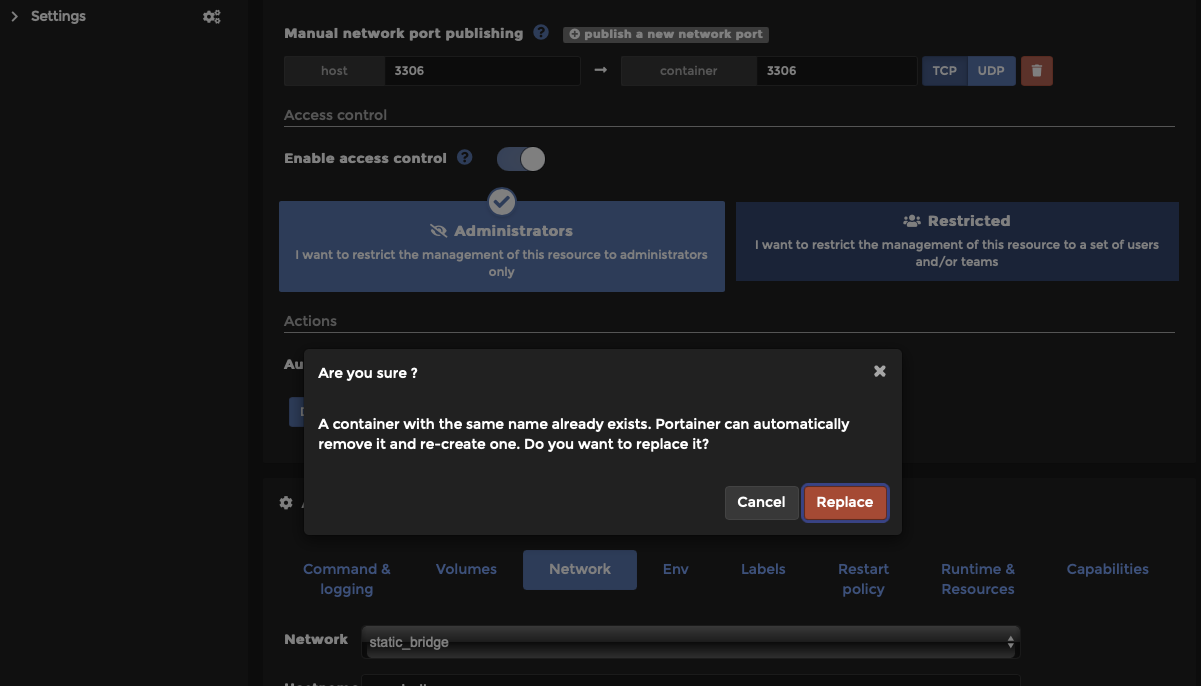
Note: The MariaDB container now has a static IP address on a different subnet from the other Docker Containers. Any container we create that needs to use MariaDB will need to also be on the Static Bridge network/subnet with the MariaDB Server.
Now to install phpMyAdmin which will provide a GUI for managing the MariaDB server.
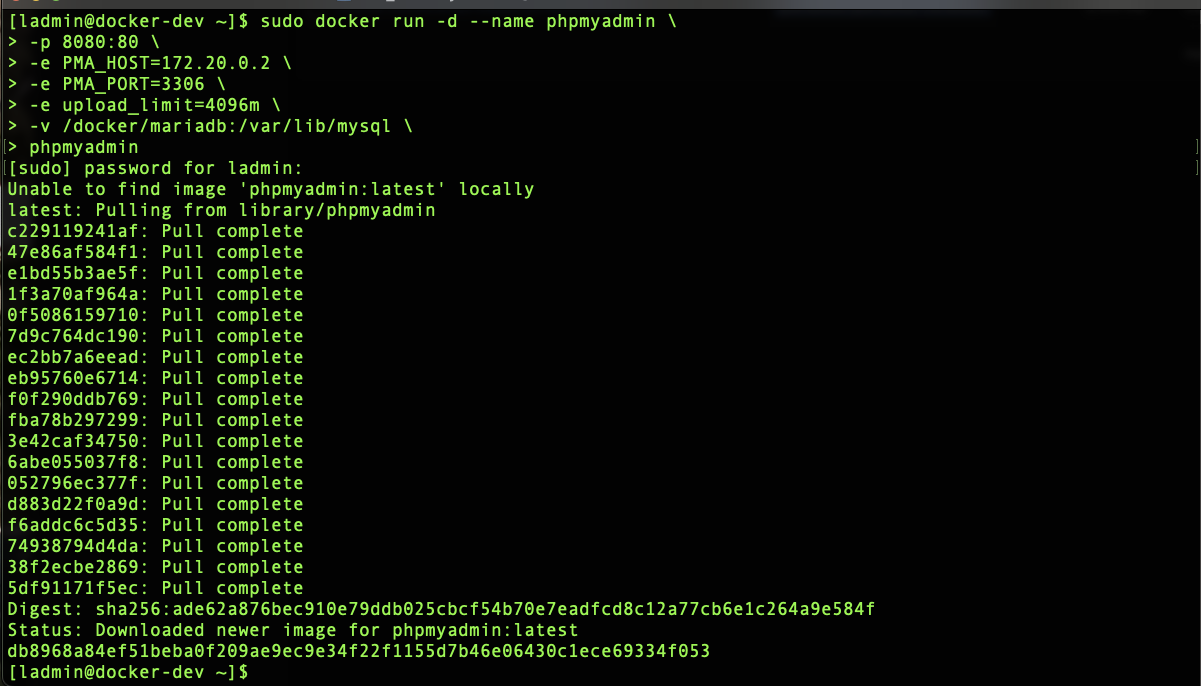
Step 7: From the command line run the following docker command, be sure to change the ‘ip address of MariaDB server’ to the actual IP address of your MariaDB server.
sudo docker run -d --name phpmyadmin \
-p 8080:80 \
-e PMA_HOST='ip address of mariadb server' \
-e PMA_PORT=3306 \
-e upload_limit=4096m \
-v /docker/mariadb:/var/lib/mysql \
phpmyadmin
Step 8: Just like with the MariaDB server above edit the network of the phpmyadmin container to reflect your static bridge network.
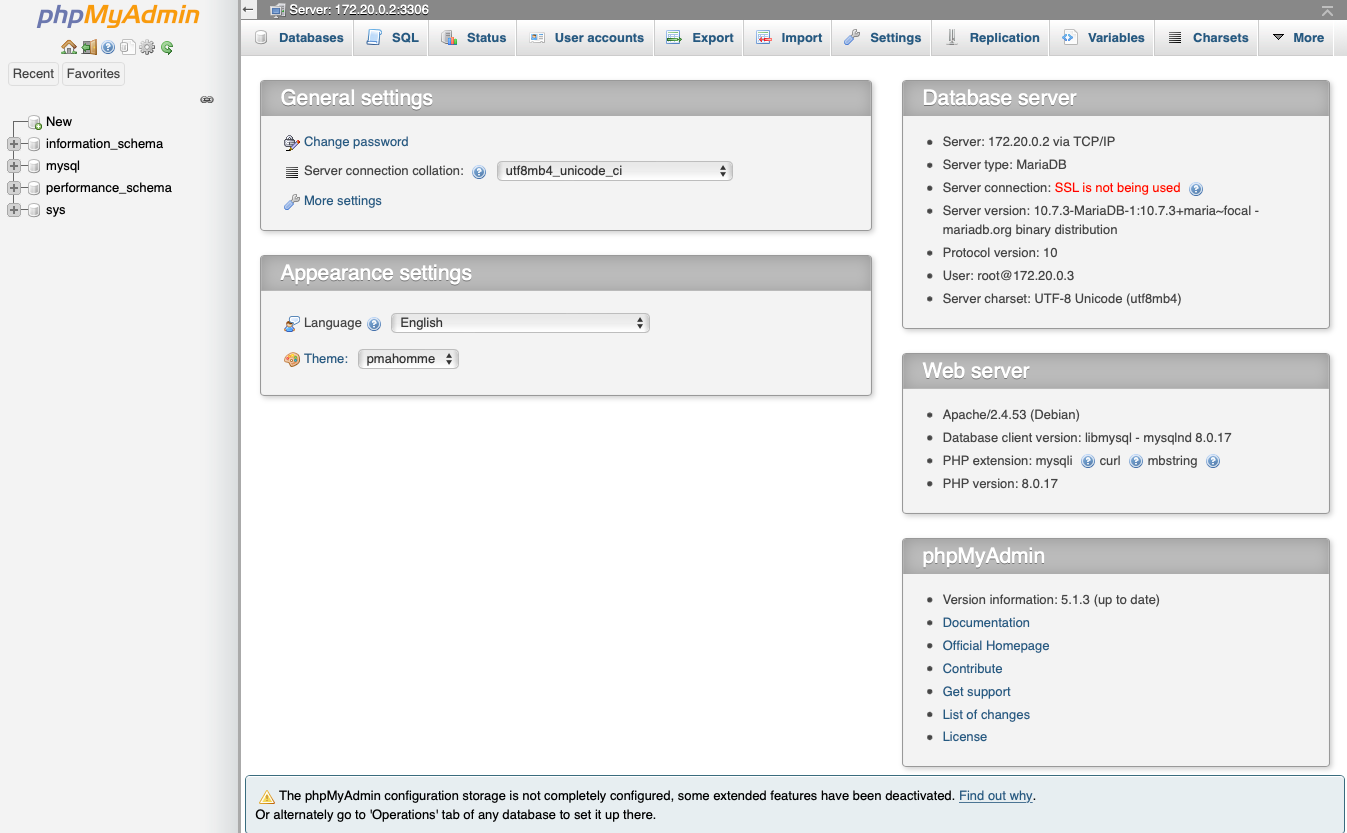
Step 9: Launch your web browser and navigate to the IP address and port of your Docker & phpMyAdmin server. Log in using the root account and password you set for you MariaDB server.
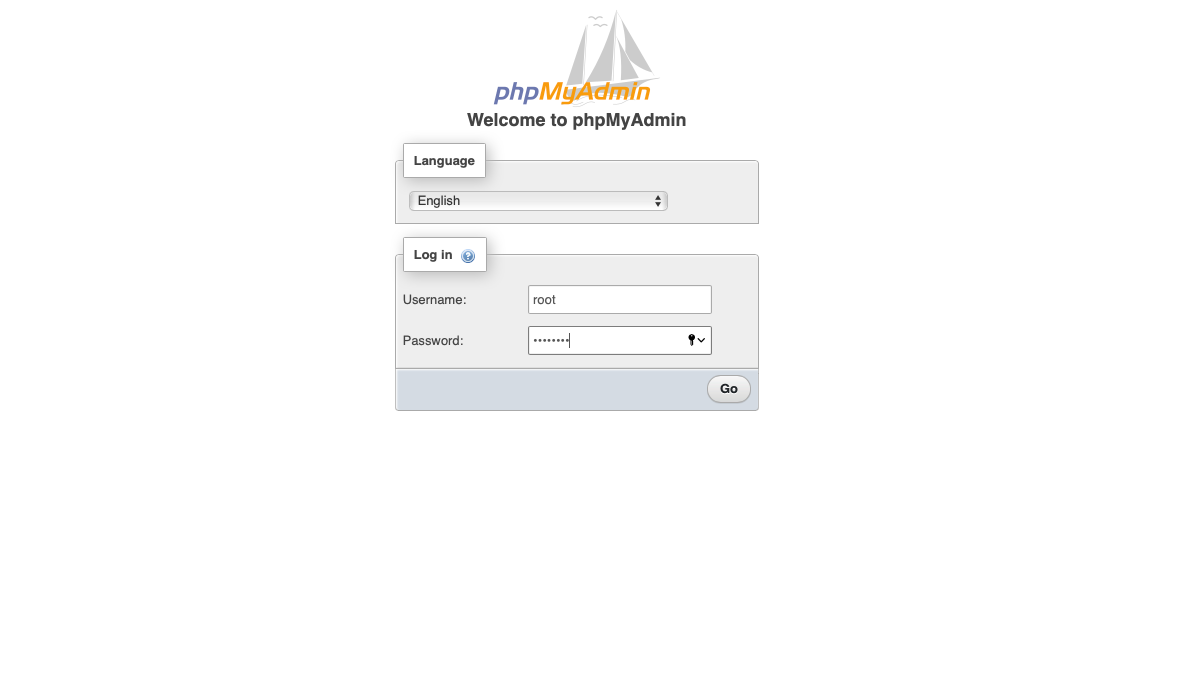
You now have a MariaDB server and a GUI system to manage the server.